4 Awl Tips to Clean Up Your Stitching

Some of my first stitching looked like this (Click to Enlarge).

Now it looks like this (Click to Enlarge).

I’m not saying that my stitching is perfect, but it has definitely come a long way. All the mistakes that you see in the first picture are from using my awl incorrectly. It’s obvious that the stitching isn’t great, but what's really hard to tell is why it isn’t great. In other words: sure I held my awl wrong, but how do I hold it the right way next time?

If you don’t like how your stitching looks, there’s two main sources for the problem. One being the awl, as I’ve already mentioned, and the second being your stitching technique. Stitching technique deserves a post of its own, and probably more than just one. We will just be looking at issues caused by your awl in this post. The good thing is, if you don’t like your stitching chances are it’s your awl use. And I promise that if you give attention to these four things your stitching is going to get noticeably better. First let’s take a look at what good awl work looks like

Awl Work Done Right:

Notice that all the diamonds are in a row, each angled the same, and each the same size. When these holes were created using an awl, they were done correctly. And because of this, the stitching rests in the correct spot and looks neat as well.

Problem 1: Flat Stitching

One common problem to have is that the front side (the side you stick the awl through) is neat, but the back side (the side the awl comes out of) is not. When this is the case the stitch on the back side usually looks like this.

This is actually a pretty simple fix. The problem is that the awl is not being pushed far enough through the leather. When the back side looks like this it is because only the point of the awl made it though, and wasn’t enough to create the diamond shape you want for nice stitching. This causes the stitching to flatten out and the holes to look odd. This can also happen when using a chisel. Take a look at your awl or your chisel and see how far along it is along the blade before the diamond shape fully forms.

Problem 2: Stitching Holes are Unaligned

Another problem that usually happens on the back side of your stitch is that the stitching holes don’t line up and not all of them sit in the stitching grove you created. It looks something like this.

This happens because the awl is being held at the wrong angle, and is easier to mess up the thicker your leather gets. When you stab the awl through the leather, the awl needs to be perfectly perpendicular to the leather. If you angle the awl slightly high or low as you stab it through the back side of the hole will not sit in the stitching line. If the project your working on can be held by an stitching pony use it. It will allow you to give full attention to creating the hole at the right angle.

Problem 3: Stitching Holes are Different Sizes

This next problem took a long time for me to figure out. I had spent the time learning to get my holes straight and kept them at a consistent angle, but they were all different sizes. It looks like this:

The sizes are definitely exaggerated in this image, but you can see how even variation in size can make the stitching look pretty ugly. This is for two reasons. Unlike problem #1 the awl is being pushed through far enough to create the diamond shape, but not pushed through consistency. A chisel blade quickly goes from point to diamond shape, but with the awl this transition is gradual. In most awl blades it’s not until 1/3 to 1/2 way down the blade that the maximum thickness is reached. This is a good thing because it means you can adjust diamond size, but creates a problem if you aren’t consistent. The second reason this happens usually has to do with the way that you remove the awl. If your awl isn’t sharp enough it can be tricky to remove from the leather once you’ve created a hole. I would sometimes rock my awl back and forth to loosen as it was removed. Avoid doing this is you can as it will stretch the leather a create a larger than normal hole. It is, however, a great technique to use when widening a hole for a backstitch.

Problem 4: Stitching Holes are Crooked

This next problem happens when the tops of your diamond holes aren’t all flat. Your stitching will end up looking like this.

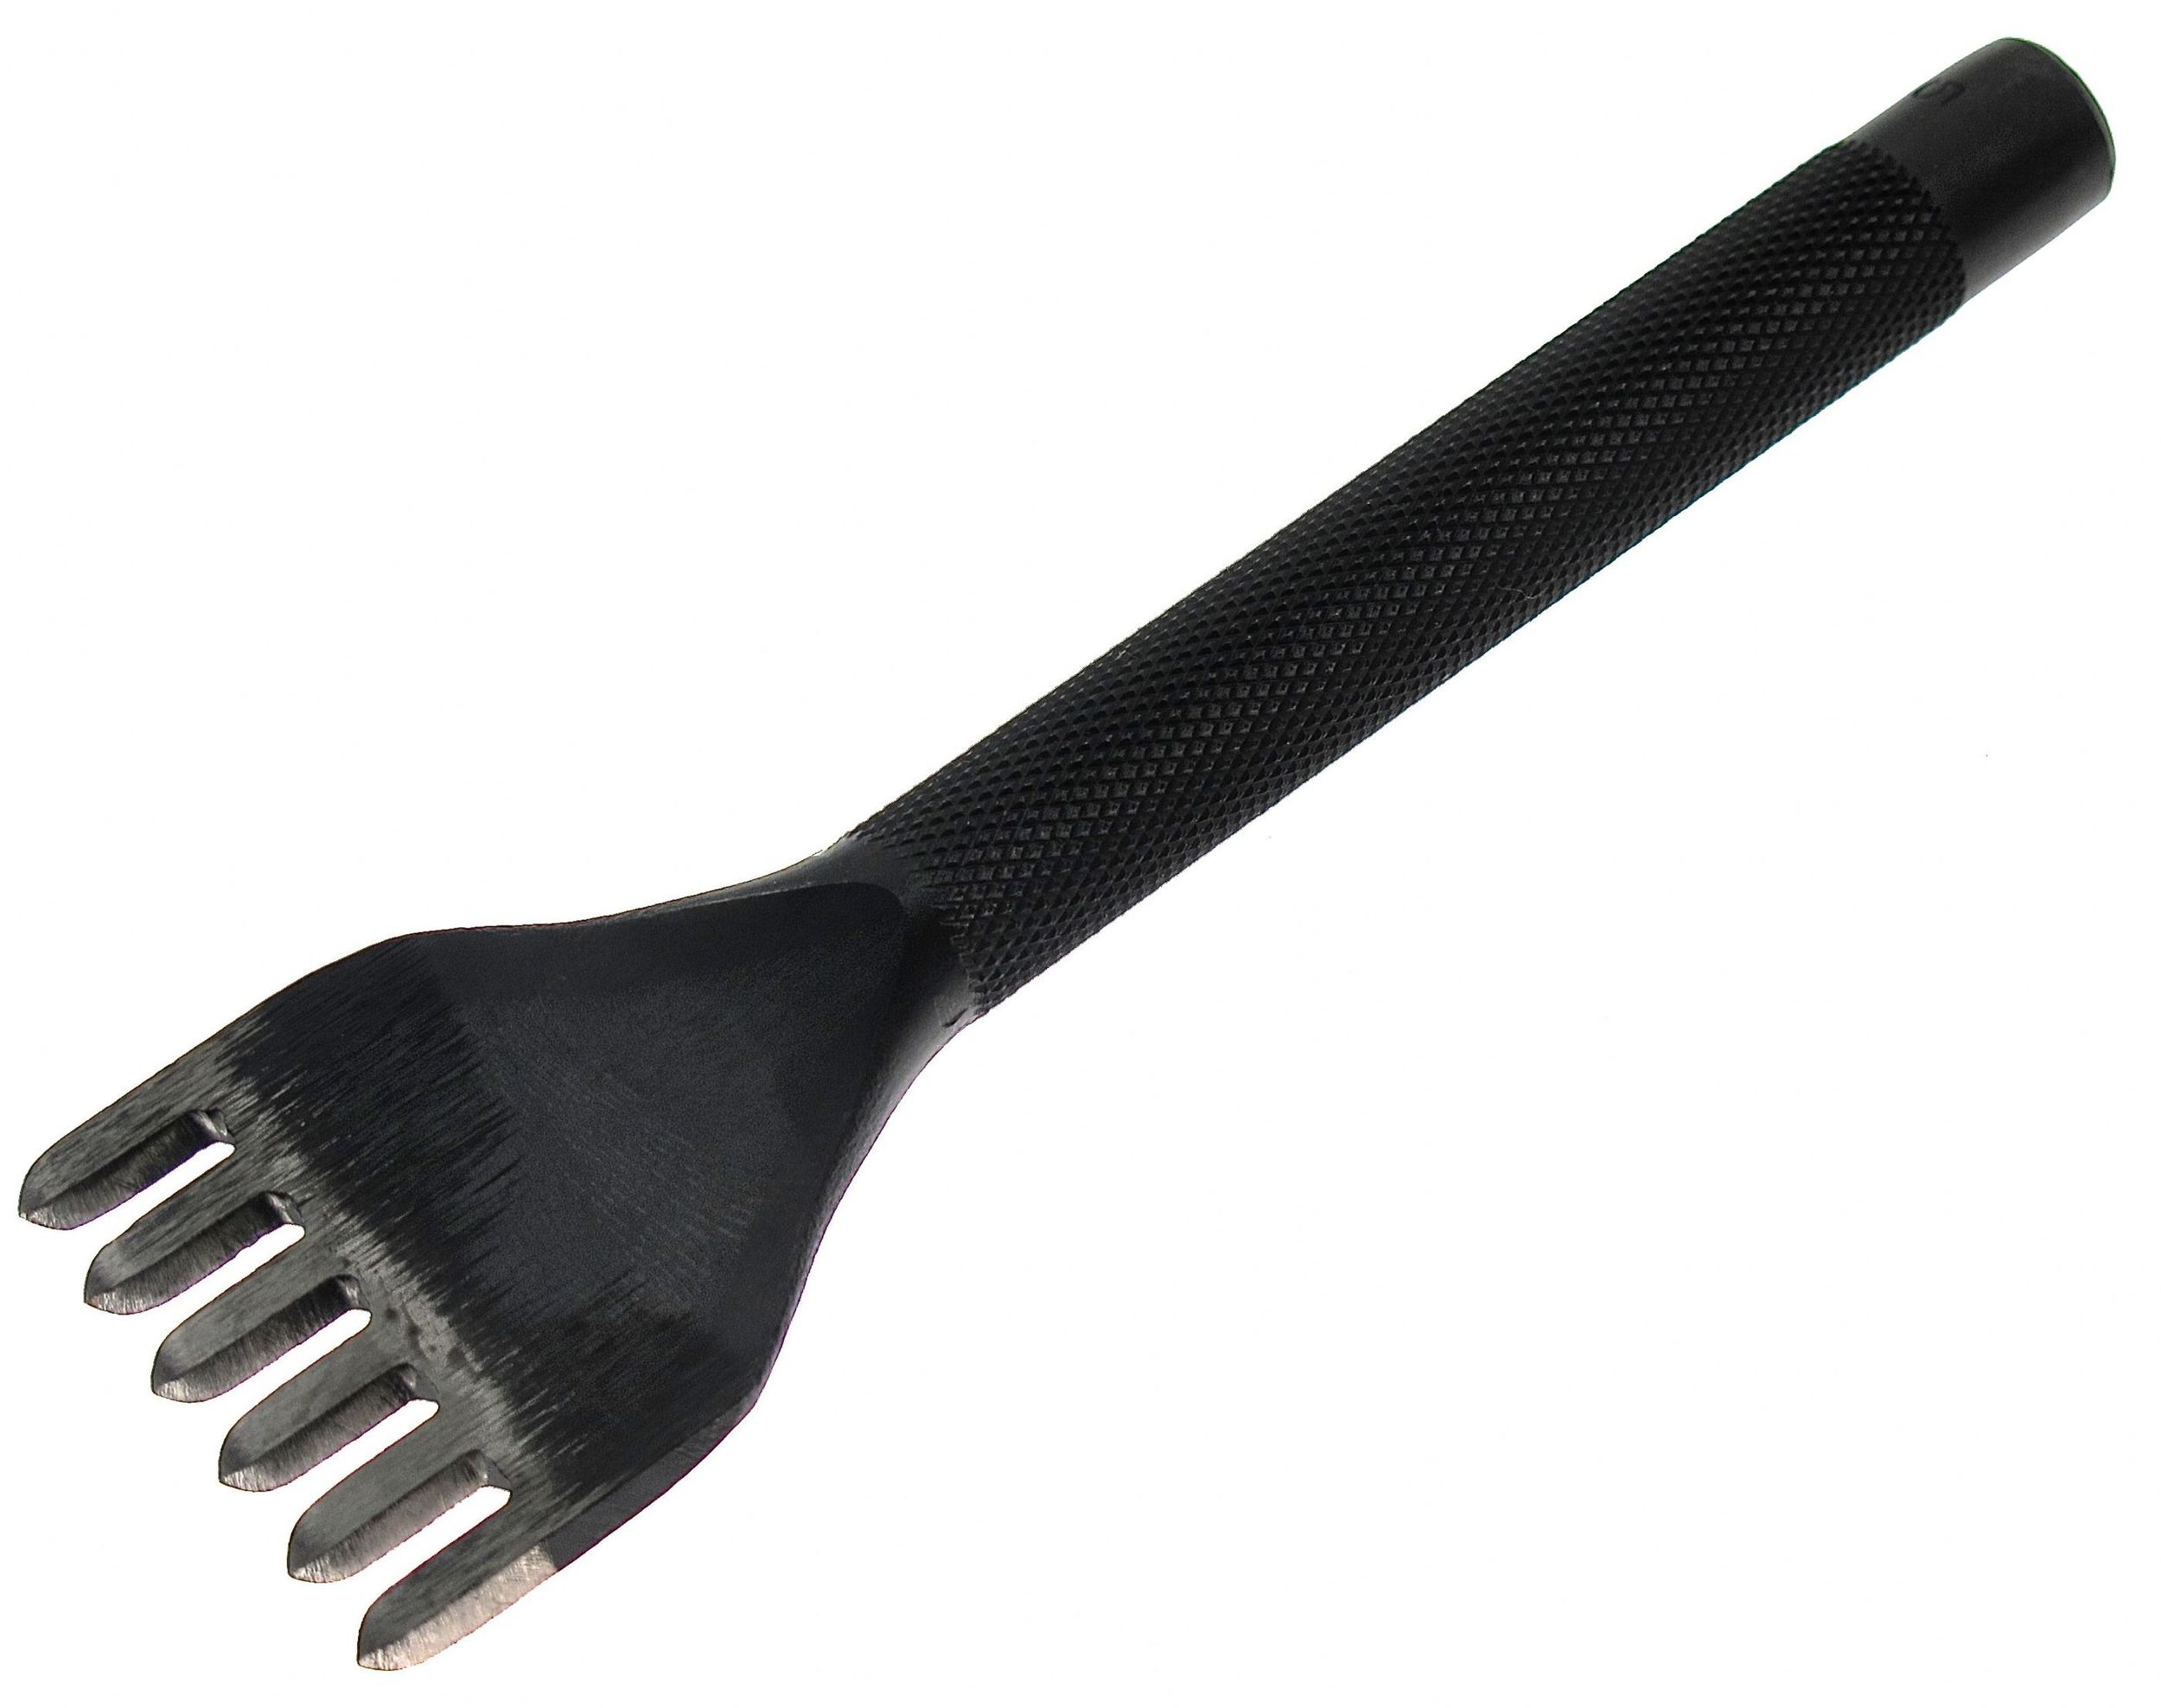
This happens because the awl rotated forward or backward when used. When you use the awl you need to keep the flat side of the diamond blade parallel with the edge of the leather. A small rotation of your wrist as you stab the leather will mess this up. For me, this was the hardest part to master when using an awl. The best way to fix this is to be attentive of each hole you create. Yes, it’s going to take you a lot longer, but you need to spend the time identifying what the awl looks like when held at the right angle. Vergez Blanchard sells an all with a flattened handle to help you see and feel when you’re holding the awl incorrectly.


Nice stitching takes awhile to master, but knowing what to look for is a great place to start. I’d really love to see some of your guys’ before and after pictures of your stitching. Please post them in the comments below. 

Chisel vs. Pricking Iron

It took me far to long to realize that these two tools were not the same tool. Yes, pricking irons are more than just the expensive version of chisels. These two tools are used in a different ways even though they are both stitching aids.

seiwa-diamond-leather-stitching-chisel-leathercraft-pricking-iron-tool-6x5mm-772-p.jpg

Chisel:

This tool is meant to create holes for your stitching. When used, it needs to be punched all the way through the leather.


Pricking Iron:

This tool creates a guide that you later use when creating holes with an awl. The name is pretty appropriate. You’re not punching the iron through the leather, but only pricking the leather, leaving a mark on the surface of the leather.


So there’s both tools with their intended purpose, but it doesn’t seem like there is a consensus on which is better in the leatherworking community.

Here’s a pro/con list to help you decide which tool is right for you.


Chisel Review:

+ Cheap and Replaceable. I bought my set of chisels from leathercrafttools.com for a little over $30. I’ve had them for awhile and they are still working great. But, say I did drop one and chip off a tooth, $30 isn’t enough to send me into a panic.

+ Quick. This is also something that is debated. For me, using a chisel has always been quicker, but some say that they can use a pricking iron and awl with greater speed. I don’t doubt them, I just can’t. When using gussets on a design, I can definitely see this being the case. 

+ Easy to Learn. It doesn’t take long to figure a chisel out. Set it in your stitching grove, make sure it’s sitting straight, and hammer. It’s pretty easy. 

- Cheap.  As I mentioned earlier, chisels aren’t meant to last as long as pricking irons.

- Doesn’t Develop Skill with an Awl. This is really the worst part about it in my opinion. Like I mentioned with the gussets, there are just times that you need to use an awl. When you’re using a chisel, you won’t be getting much practice with an awl. I really suggest using a chisel on the work you are selling, while using an awl on pieces that you don’t plan on selling. You need the practice. Don’t let a chisel be a crutch.


Pricking Iron Review:

+ Durable. Pricking Irons are usually hand made and seldom need replaced. It’s a one time purchase.

+ More Controlled. I’ve heard this argued before, but will be honest and say that I am not 100% sold on this. The argument is that if you make a mistake with a chisel you’ve made a mistake all the way through the leather. With a pricking iron (and awl), you individually create each hole. I think the assumption is that one hole at a time gets more care than the six you make at a time with a chisel. I mess up with my awl way more than I do with my chisel though.

+ Looks Good in Your Instagram Posts. This is a running joke on the leather craft reddit, because pricking irons seem to find their way into the back ground of a lot of pictures… but they do look good. Go check out the subreddit if you haven’t already. I owe thanks to many people there for all they’ve taught me.

+ Develops a Skill. You can’t get around using an awl with a pricking iron, and that’s a good thing. For those who can use a pricking iron/awl really well (not me), there’s definitely a sense of pride and accomplishment that they have about it, and I don’t blame them.

- Expensive. Pricking irons are going to cost you about $200. That’s a lot for me.


My Verdict:

You’ve probably guessed by now, I don’t think pricking irons are worth it. But as I get more experience maybe that will change. I really respect people who can use a pricking iron well, but for the price I don’t suggest it, especially people who are new to the craft. As I mentioned, I got my chisel set for $30, they still work great, and I don’t think I will need to be replacing them any time soon. When I started using a chisel my stitching looked drastically better because the holes were consistent as opposed to the holes created by my mediocre awl skills.

If you’re new get the chisels, but make sure to practice with the awl on the side. If you really want a pricking iron, get some skill with the awl. Once you’ve got some skill, I say go for it.

Oh yeah, the overstitch wheel probably deserves mention because it serves a similar purpose. But then again… it doesn’t. I hate the thing.

Let me know if I missed a pro or con for either of these… or if I’ve horribly offended you because of your overstitch wheel love. 

Where I Went Wrong with Rivets

The second thing that I ever made was a purse for my wife. She had a cheap purse she’d bought from H&M. It had fallen apart after some use, but she still really liked the design and asked if I could make a new one. To be honest, I didn’t really know if I could make a new one but I figured why not try.

I was just beginning and didn’t have a lot of money, so I used the only leather I had ever bought to make it: an 8oz piece of Craftsman Oak. If you’re familiar with leather sizes, you know that is way too thick for a purse. So I tried my best to skive it down to about 5oz. Skiving is one of those things that takes a bit of skill though, so I took it slow and did the best I could. I’d say it turned out ok at best. 

I knew skiving was tricky, but I had never really tried to rivet before and it sounded easy. At this point the bag was mostly finished. I had stitched most of it  together and burnished my edges. One of the few things I had left was to rivet the straps on. So I punched my holes, placed in the rivets, and started hammering them closed using a rivet setter. And...

This is what smashed rivets look like.

This is what smashed rivets look like.

They were horribly mangled. So mangled in fact that you can see it from a distance. I had spent all this time trying my best to make this bag good, only to have it ruined in about two minutes. I tried to remove them, but rivets aren’t meant to be removed. And after some searching on youtube there are tutorials to removing them, but it’s much harder to get them off than on. What I’m trying to say is riveting sounds easy, but just like everything else in leather working, there is a skill to it. Ruining your wife’s birthday gift is not a good thing, so here’s some tips for a happy marriage and a well set rivet.

  1. Use an anvil. If you are using a rivet setter like the one to the right, they are also sold with anvils (for a little more). Anvils are nice for two reasons. First they provide a nice hard surface to hit the rivet on to. But when it comes to a small anvil, I think the more practical purpose is for setting double sided rivets. Some anvils come with rounded out dips in them to set the other side of the rivet in it. This way neither side of the rivet is damaged in the setting process.

  2. This brings me to my second point: Rivet on a hard surface. I thought the small anvil I was using would suffice, but I was hammering with this small anvil on a wooden desk. The anvil would jump around when I hammered and leave dents in the other side of my rivet. Once I moved to a concrete floor this stopped happening because the surface was less bouncy and the anvil stayed in place.

  3. Practice. I know this sounds obvious, but seriously rivets are inexpensive. Don’t be afraid to waste a few on a scrap piece of leather for the sake of saving a project. Do this especially if you are either trying rivets for the first time or trying a brand of rivets you have never used before. They might dent easier and require you to use less force. Or they might not fit into the rounded dips in your anvil as well as other brands and it may be more difficult for you to set them correctly.

  4. Make sure your stem isn’t too long. If the leather you are using does not completely fill the space between the two caps, you run a good chance of messing up the rivet in the setting process. Instead of the stem closing around itself, it will slip and bend diagonally making it so your rivets don’t actually close and the caps no longer line up. There’s two easy fixes for having too long of stems. You can either cut them and shorten them to the correct length. Or you can do you best to make sure to come straight down on top of the rivet with you swing the hammer. If the force of your hammer doesn’t come from directly above, the rivet will slip though, so it’s just better to have the stem at the right length.

Luckily my wife loved her purse even with the obviously flawed rivets. She’s just nice like that and still wears it around today… even though those rivets are always staring back at me. I am happy to say that none of my rivets have looked that bad since, thanks to tips like these. As always, if I missed some tips let me know in the comments. 

Getting the Most Out of Cheap Leather

Craftsman Oak is the cheapest version of leather that Tandy sells. And it’s no secret that it’s rough, but that’s a good thing when you’re beginning. The low quality is why they are so cheap, and cheap leather is great leather to practice on.

But just because you receive it in rough shape doesn’t mean you can’t make the best of it. While Craftsman Oak is a far cry from say, Horween’s leather (which will cost you a heck of a lot more), you can still create beautiful pieces with it. It just takes a little more coaxing.

I used Craftsman Oak a lot when I was learning. And I started to notice similar problems with each of them, and eventually learned how to deal with those problems. Hopefully this list helps you create beautiful end products, even though you are still learning with cheap leather.


Problem #1: Holes, Scars, and Folds

Top side blemish.

Top side blemish.

Check for blemishes on the underside as well.

Check for blemishes on the underside as well.

Solution: Any piece of cheap leather is going to have these defects, but these defects don’t  need to make their way into your project. If you’re creating something small like a wallet, it’s easy to cut around these defects no matter what cut of leather you purchased. If you are wanting to make something larger, like a bag, you need to get a bigger cut of leather. You’ll have a hard time finding enough space without blemishes on a smaller piece, even if it is technically enough leather for the project. When you’re inspecting the leather, prior to buying it, make sure there is enough distance between the blemishes to fit the pieces of your project.


Problem #2: Too Stiff

Solution: There are ways to lessen this, but just know you aren’t go to make an extremely stiff pieces of leather extremely flexible. It’s more like, it was once really stiff and now its just sort of stiff. Putting oil on the leather prior to sealing it with a wax cream will help loosen it up. There are a number of different oils you can use, but I like to use olive oil because I always have it around. Also, unlike some other oils, olive oil will not darken the leather too much.

Don’t be afraid to be generous with the oil. Depending on the leather, it will take a decent amount of oil to start seeing results. Just make sure you apply it evenly because it does darken the leather a small amount. Using a sponge is a great way to apply both oils and dyes.


Problem #3: Feels like Cardboard

This is the topside of two different pieces of leather. The one on the left looks as it should, while the one on the right almost looks like its the underside due to how coarse it is.

This is the topside of two different pieces of leather. The one on the left looks as it should, while the one on the right almost looks like its the underside due to how coarse it is.

Solution: First of all don’t panic. I remember getting a piece of leather that I had shipped to my house (go in to the store if you can), and thinking that the top layer had been skived off somehow. It hadn’t, it was just insanely coarse. Go ahead and dye it just like you would any other piece of leather and then make sure to be generous when you apply the carnauba cream. You may have to give it a few coats, but you can get it looking healthy again.

If it still looks and feels coarse after applying a few coats of carnauba cream, you can also take your slicker/burnisher and buff the surface of the leather by running it quickly back and forth across the top of the leather. This will give it a shinier look.


Problem #4: Messy Underside

Neither of these would be considered high quality, but you can tell the one of the left definition has messier fibers. Be sure to matte down the fibers in both situations.

Neither of these would be considered high quality, but you can tell the one of the left definition has messier fibers. Be sure to matte down the fibers in both situations.

Solution: I thought way to long about how to get a joke out of that problem title, no luck. Anyway, on really nice pieces of leather none of the fibers on the underside will be sticking up, but on cheap pieces of leather that is not the case. Some craftsman oak cuts aren’t too bad, but then again there are some that are really bad. If that is the case, just take a slicker/burnishing tool and run it back and forth across the back of the leather with gum tragacanth to matte down the fibers. It won’t be as nice as a quality piece of leather and after some use the fibers will stick up a little, but it still makes a noticeable difference.


These are just some of the things I did to get more out of the craftsman oak leathers. Adding oils and waxes, cutting around blemishes, and matting down loose fibers really helped increase the quality of my early projects. But I know there are more tips out there on how to work with this kind of leather. If you’ve come up with any, or heard of any, share them in the comments below - they just might get added to this list and, even better, help everyone here.