Cutting leather isn’t particularly tricky, but doing it right is. Cuts need to be perfect, because they seriously effect the ease of the steps that follow and result of your leather project. Even a slight slip of your ruler can mess with your burnishing process and make your stitching lines no longer straight. Small mistakes like that, get amplified with each step you take to complete your project. So, if you haven’t given some thought to how you are cutting out leather for your projects, now is the time.
Have the right tools:
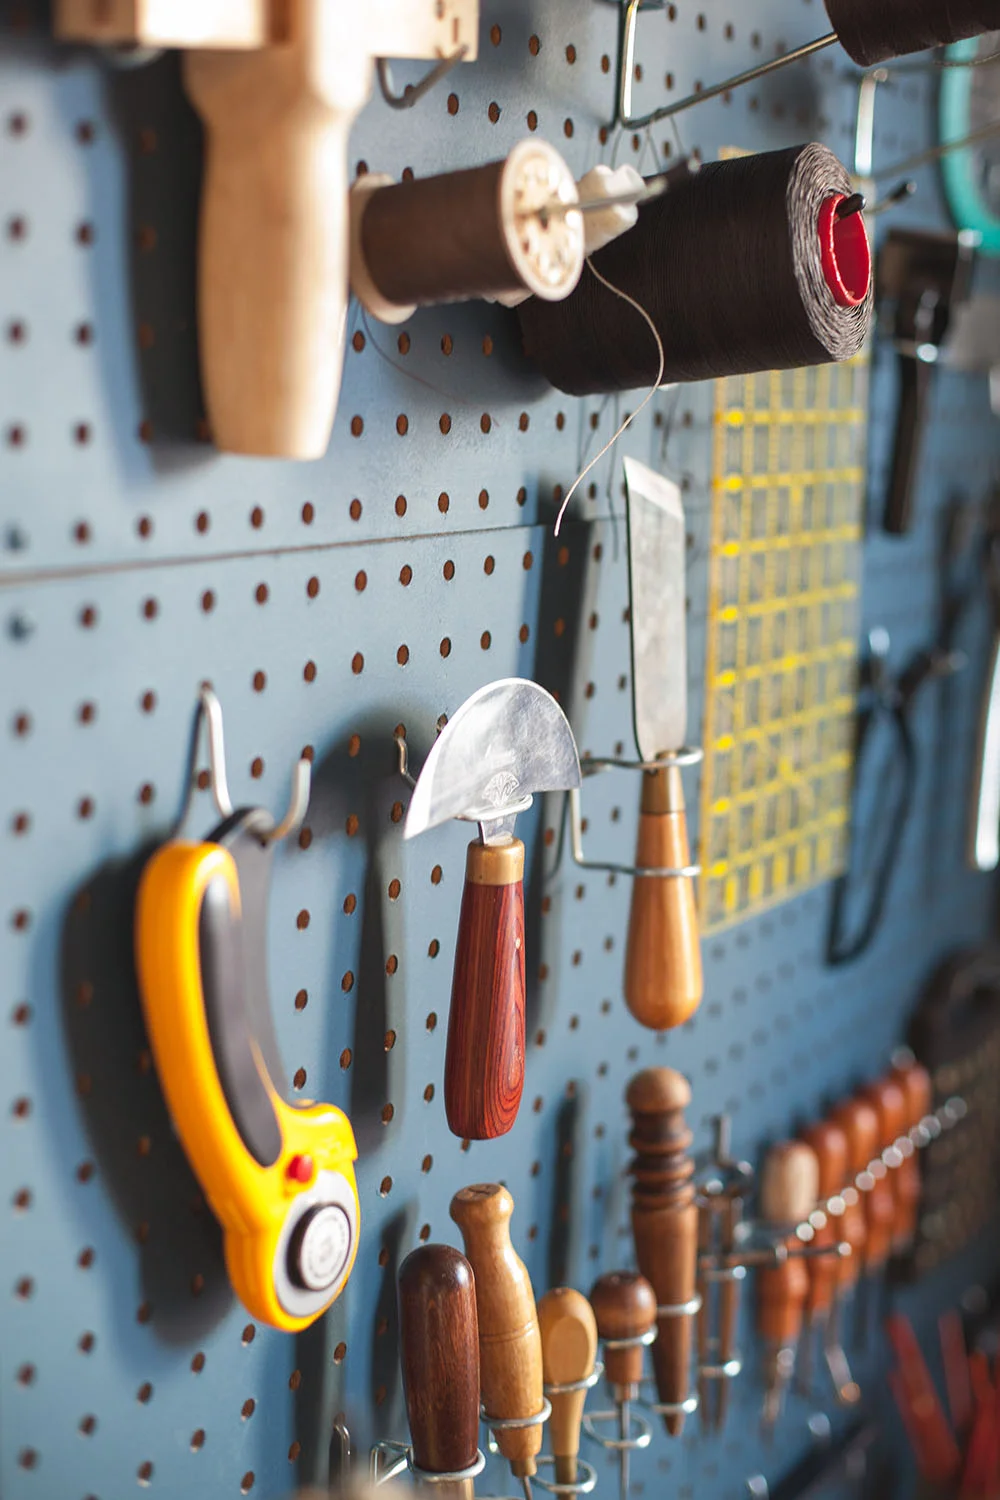
There are a lot of different knives that can be used in leather working, but let’s just focus on the main ones for now. When you’re choosing which knife you want to use, one of the big considerations should be the thickness of your leather. Thin leathers and softer leathers are notorious for pulling as you cut them. This is something you really don’t want, because your lines won’t be straight. You shouldn’t use knives that have a lot of drag on thin/soft leathers.
Rotary knives and Japanese Knives, both work well when it comes to thin leathers. Rotary knives because of their lack of drag, and Japanese Knives because of the way you can finish a cut. The leather pulls the most at the end of a cut and Japanese knives can be pushed down at the end of the cut to prevent this drag. It’s kind of like you stamp the end, as opposed to cutting it.
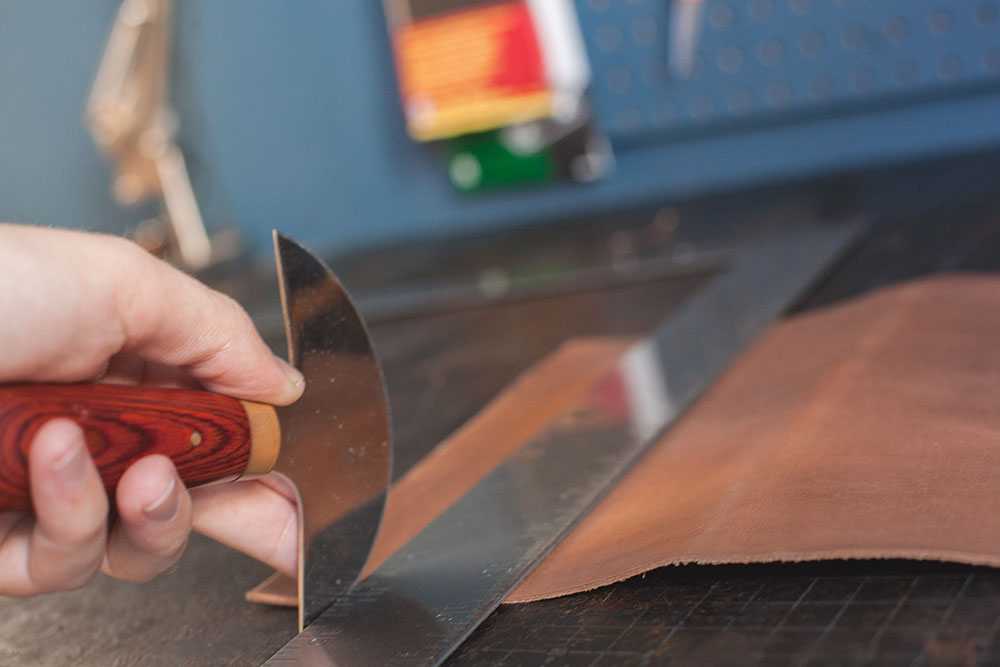
On thicker leathers, most knives will work. Round knives and head knives work especially well because of their versatility. They cut both straight lines and curves well, while also being capable of skiving. Trim knives and X-Acto Knives also work well and are really easy to manage, though I will sometimes avoid using an X-Acto on very thick leathers due to the amount of effort it takes to make a cut.
Finally, make sure to chose the correct ruler. This sounds pretty obvious I’m sure. But having your ruler slip is a really common mistake, especially when you’re working with a heavily waxed leather. The issue is probably more with your ruler than something you are doing. Make sure to get a heavy ruler, and if you can, get one with something on the bottom to help prevent it from sliding.
Score:
The obvious benefit of scoring leather (or tracing a pattern onto leather), is that it’s your best bet for not wasting leather, both when it comes to mistakes and managing the amount of scrap you have after you cut.. But the additional benefit of scoring is that it really helps with precision, because you have marked out the exact spot your cuts begin and end. And, as I already mentioned, good precise cuts mean that burnishing and stitching straight lines becomes much easier.
Know how to work around tricky corners:
While you can cut around corners any way you choose, there are methods that work better than others and methods that will prevent you from cutting too far into the leather. For cutting around curves well and even cutting 90 degree angles, check out this blog post.
Keep your knife perpendicular:
This isn’t hard to do, but it’s not something I gave much attention to when I was first starting. If you don’t keep your blade perpendicular to the leather, your cuts will look straight, but you will find out that it’s not the case when you get to the burnishing process. Keeping your blade perpendicular will ensure that your edges line up perfectly and will reduce the amount of sanding needed during the burnishing process. If you are having trouble with this, try not to over extend your arm when making cuts, because your hand naturally starts to roll as your elbow gets close to locking.
Keep your knives sharp:
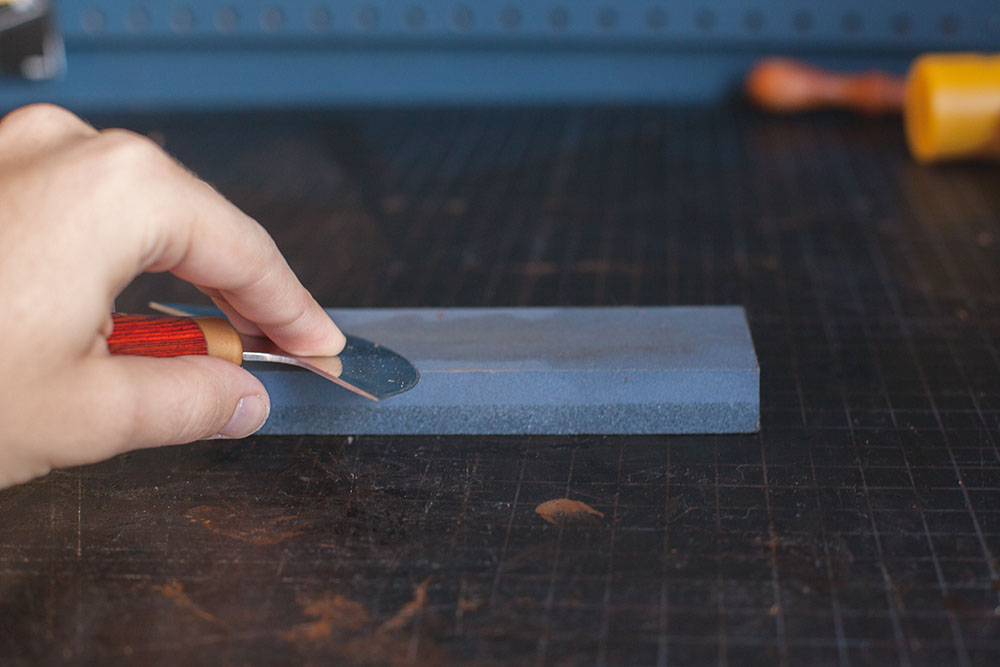
I cannot emphasize enough how important this is. Sharp knives equal clean cuts and a lot less mistakes because you’re not going to struggle to make the cut. If you’re not doing so already, get in the habit of stropping your knives before or after each time you sit down to work. Stropping isn’t even hard to learn. This will ensure that your knives stay sharper much longer. Eventually you’ll also need to spend sometime sharpening your knife. This is admittedly harder to learn, but this guide will get you started on the right foot. One last thing, the knife in the picture above is stainless steel, and I find myself sharpening it all to often. It’s important to make sure your knives are high enough quality to hold an edge, if not you’ll find yourself needing to sharpen your blade far too often, and getting worse cuts.


