Most of my time leatherworking is spent making bags. And tote bags are by far my best sellers. Tote bags are just insanely popular right now.
And because they are pretty popular, there are a lot of people who are selling them. Don't worry though, there are some easy ways to make your work stand out.
For instance, most of the tote bags I've seen have 1 of 2 different handles: a flat handle and a corded handle.
Flat handles are typically made with a single strip of leather stitched to the bag. They are quick to make, but don't wear very well.
Corded handles are a little more robust... and they look way better. They take a little bit more time to make, but aren't any more difficult. Here's how to make them:
MATERIALS
-a polyester rope
-3oz to 5oz leather strips
-thread and stitching needles (I use tiger thread)
-glue (I use siewa's)
-way too many binder clips (I used 30-40ish)
-stitching horse
-diamond chisel & hammer
STEP 1 - Determine Size of Handles
First you'll need to determine the length of the handles. This is generally decided by what is referred to as drop length. Drop length is the distance between the top of the bag and the top of the handles. If you plan on selling bags or doing custom work, this is one of the things you'll want to have figured out to communicate to your customer.
The end of the straps are just leather folded over itself. There's no cord in them as the cord is tucked back a bit. I typically have the ends of my straps between 3 and 4 inches in length, which requires 6 to 8 inches of leather because they are created by folding the leather back on itself. That means that if you want a strap that is 46inches long and the ends to be 4 inches, the cord should be cut to 38 inches long (which takes into account the 4 inch leather ends on either end) and the strip of leather should be cut to 54inches (which takes into the account the 8 inches of leather that will be needed on each end to make the leather ends). If that's all a bit confusing, here's a formula that will work every time.
Cord Length = Length of Handle - 2(Desired End Length)
Leather Strip Length = Cord Length + 4(Desired End Length)
Now that you know the length needed, you'll also need to figure out the width. Don't worry, this one is a little easier to explain. To find the width, I simply take a piece of scrap leather from the hide that I'm using for the project and wrap it around the cord. When you do this, make sure that there is an excess of 1/2inch to 3/8inch on each side to leave room for stitching. After doing this, whatever that width comes out to be is the needed width of your leather straps.
Step 2 - Glue the Handle
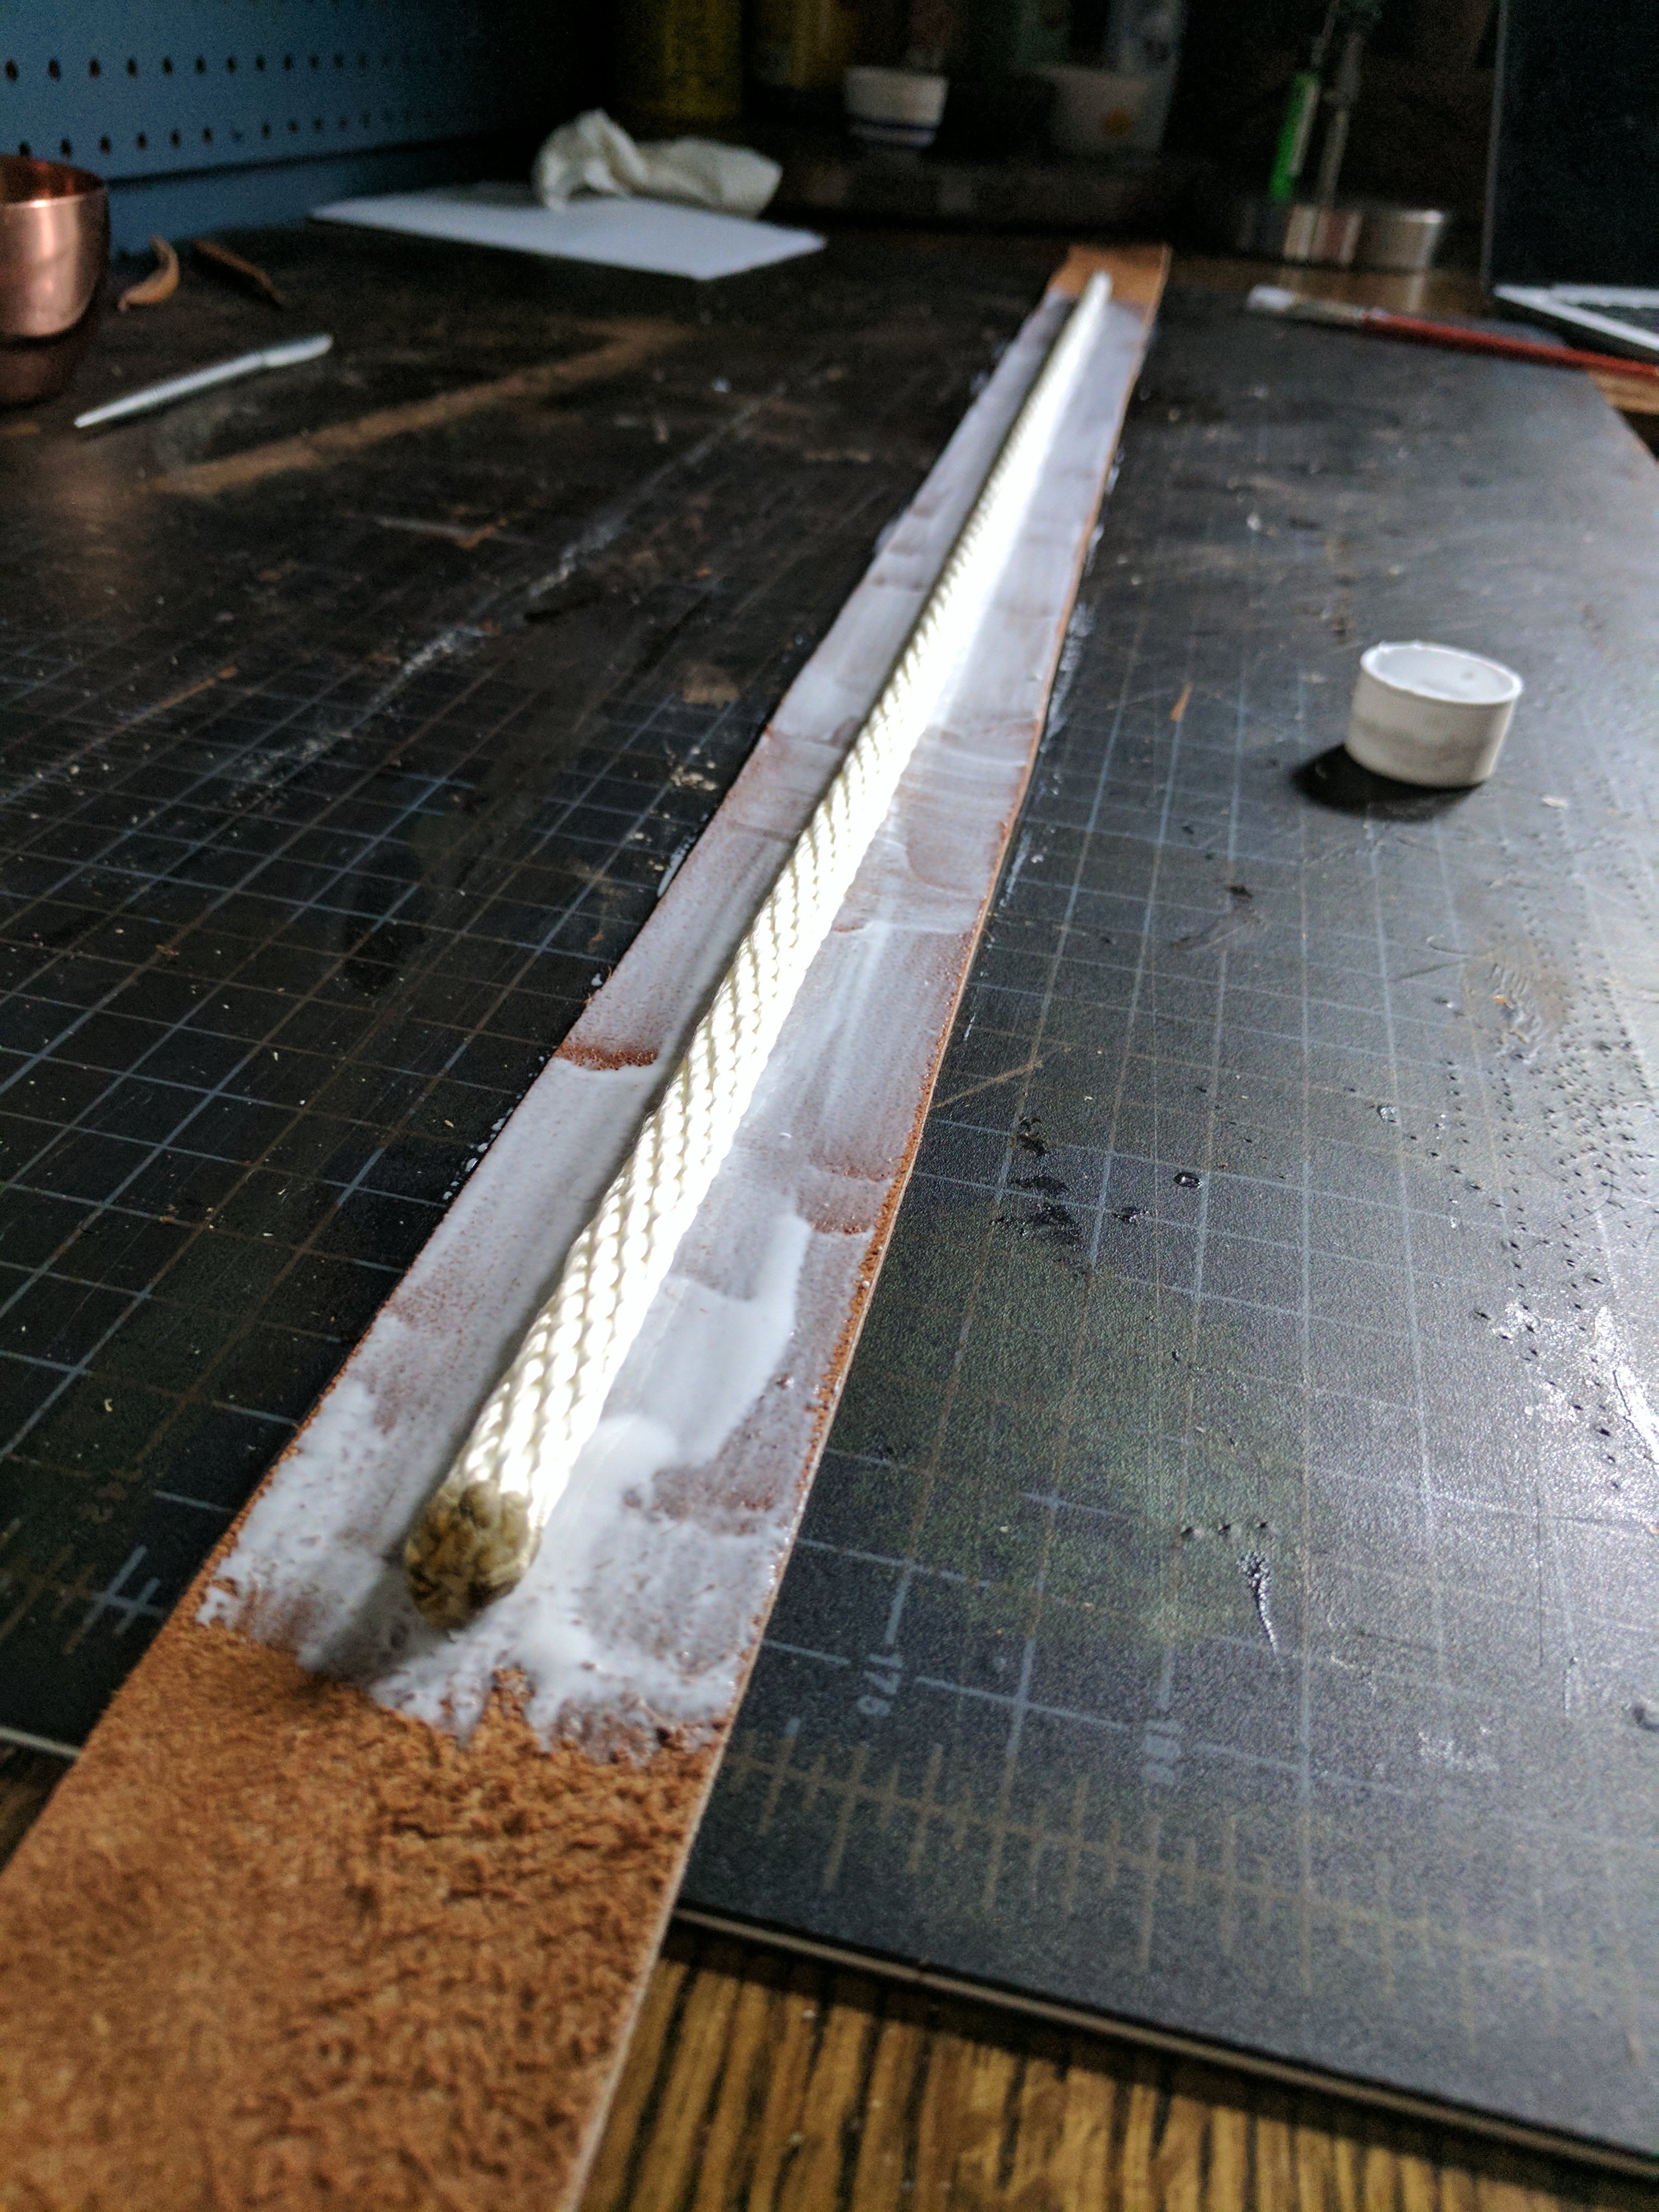
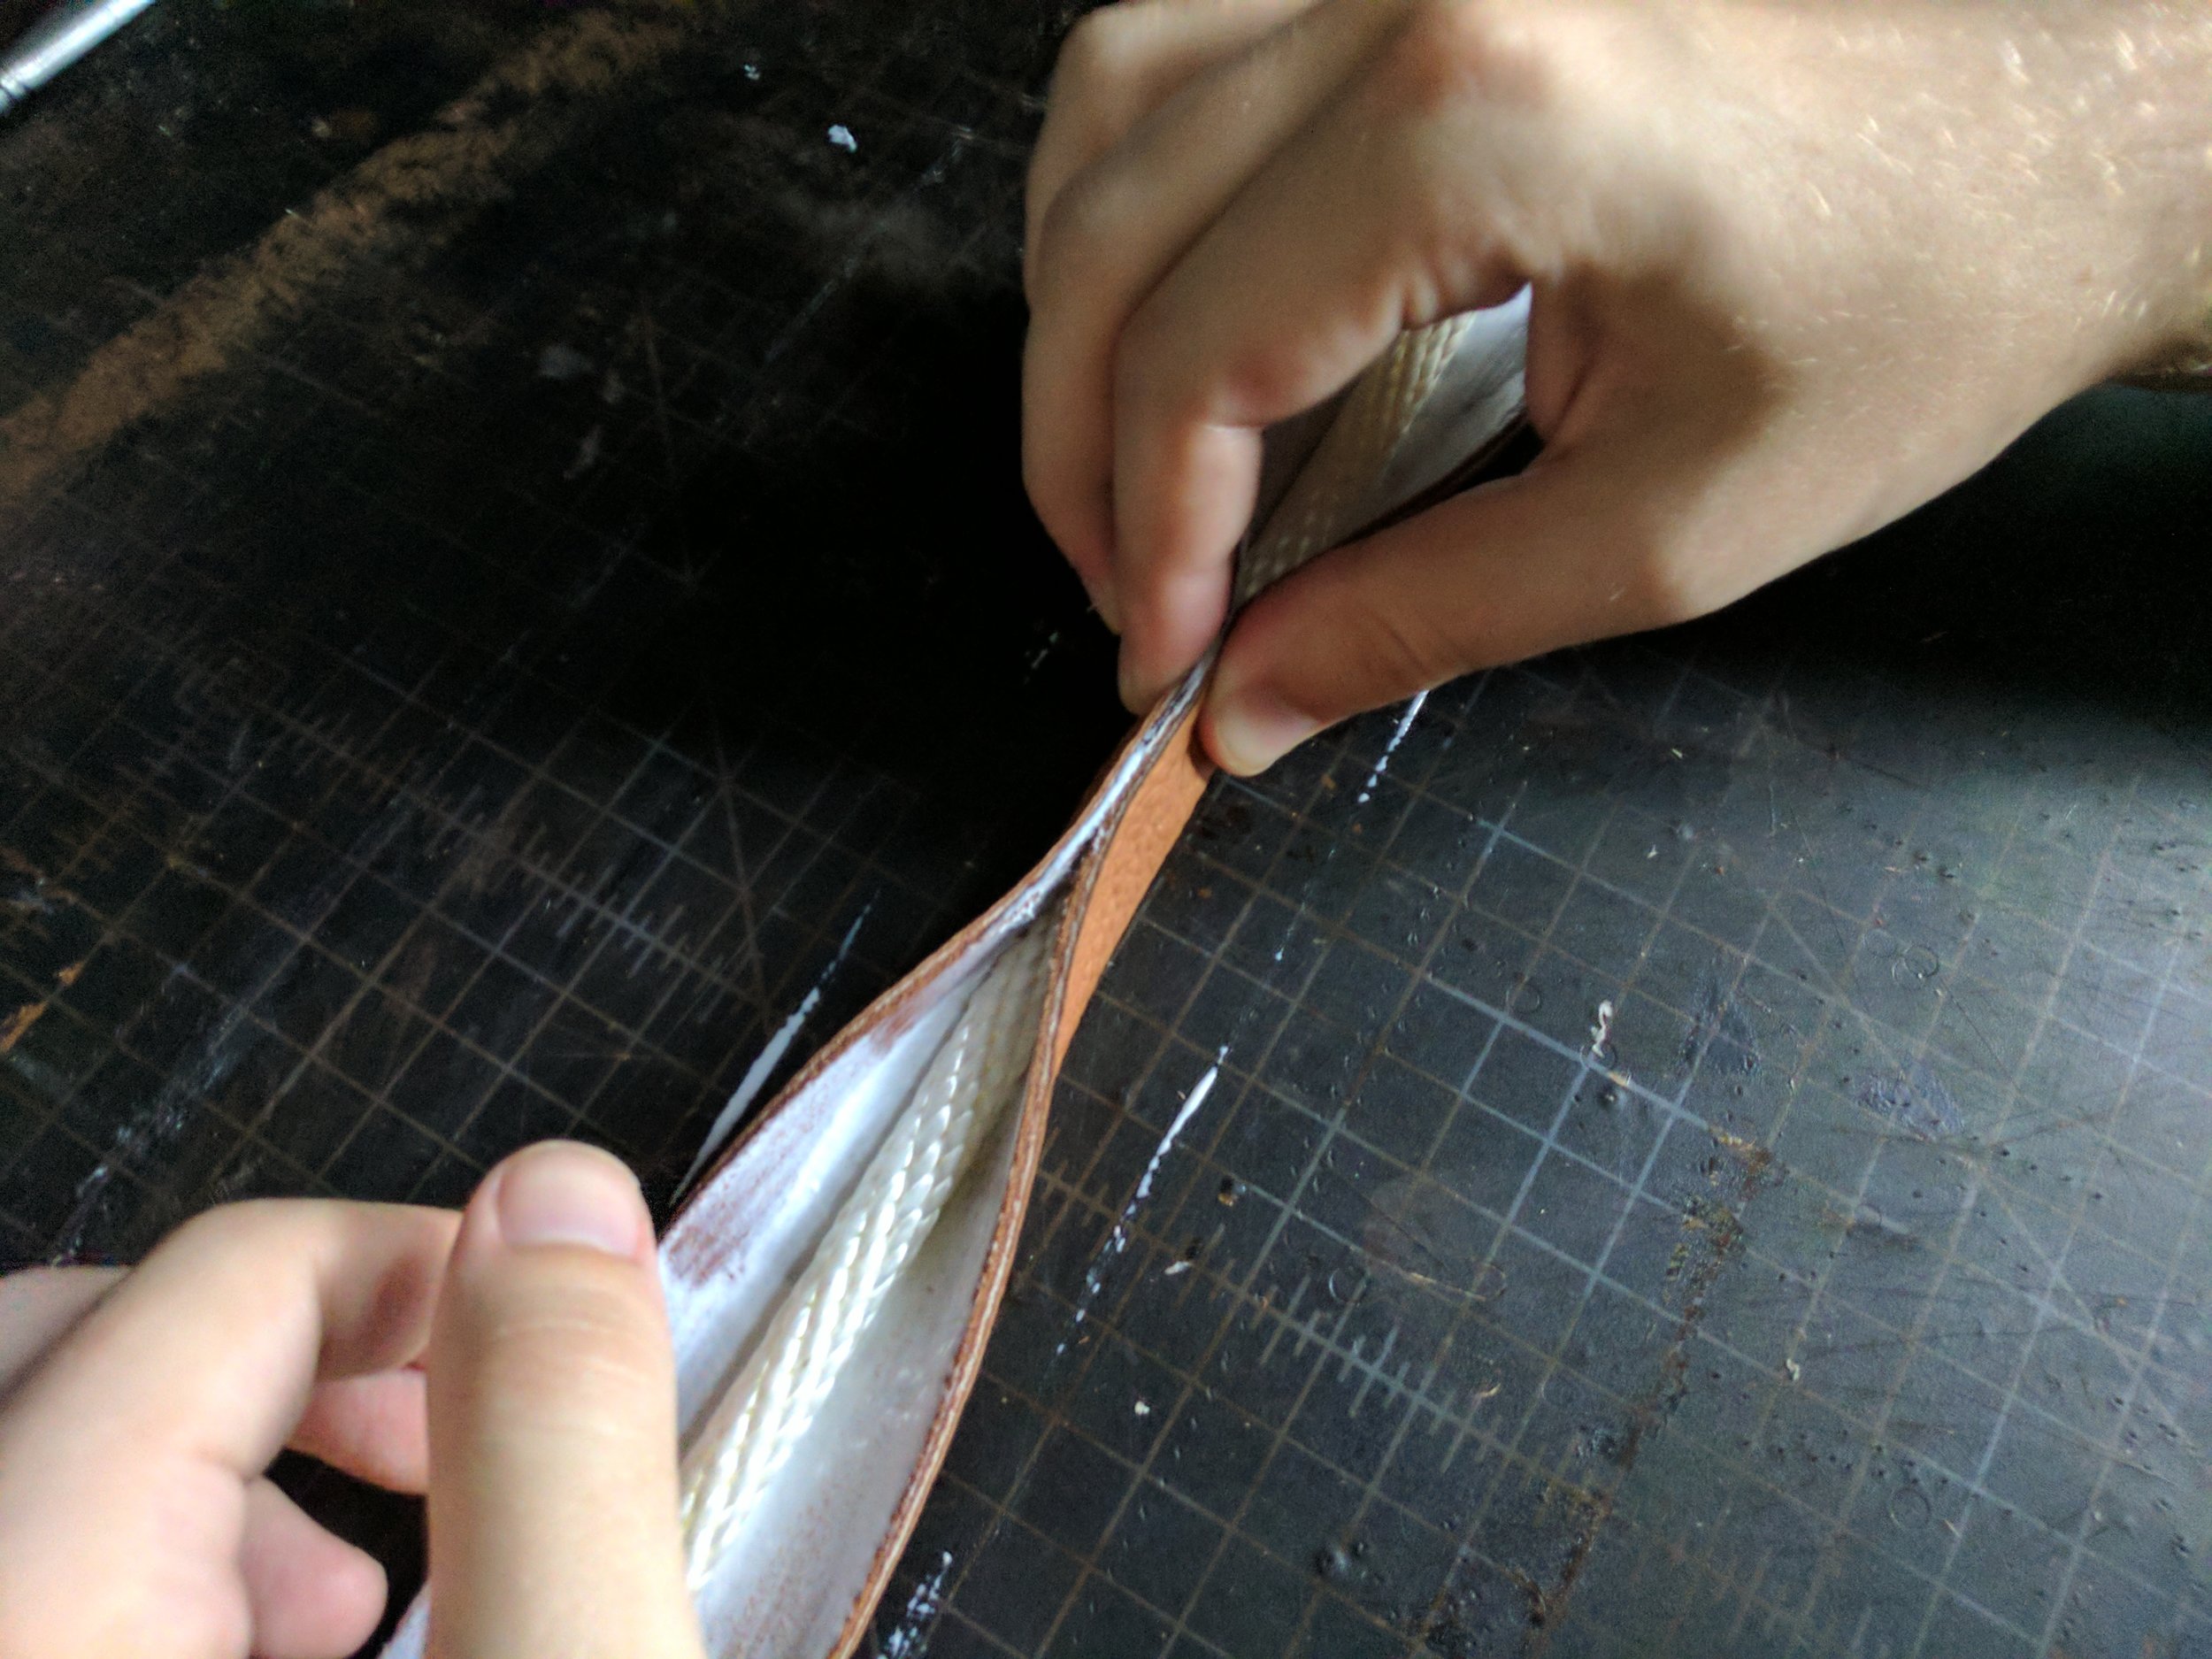
With the leather straps and cords cut out, you can now glue them together. Apply glue to the underside of the leather strips, but only put the glue where the cord will be. If you followed the previous steps, you'll have 8 inches on both ends that will remain unglued.
Then tightly pull up the leather on both sides, so the edges of the leather straps line up perfectly.
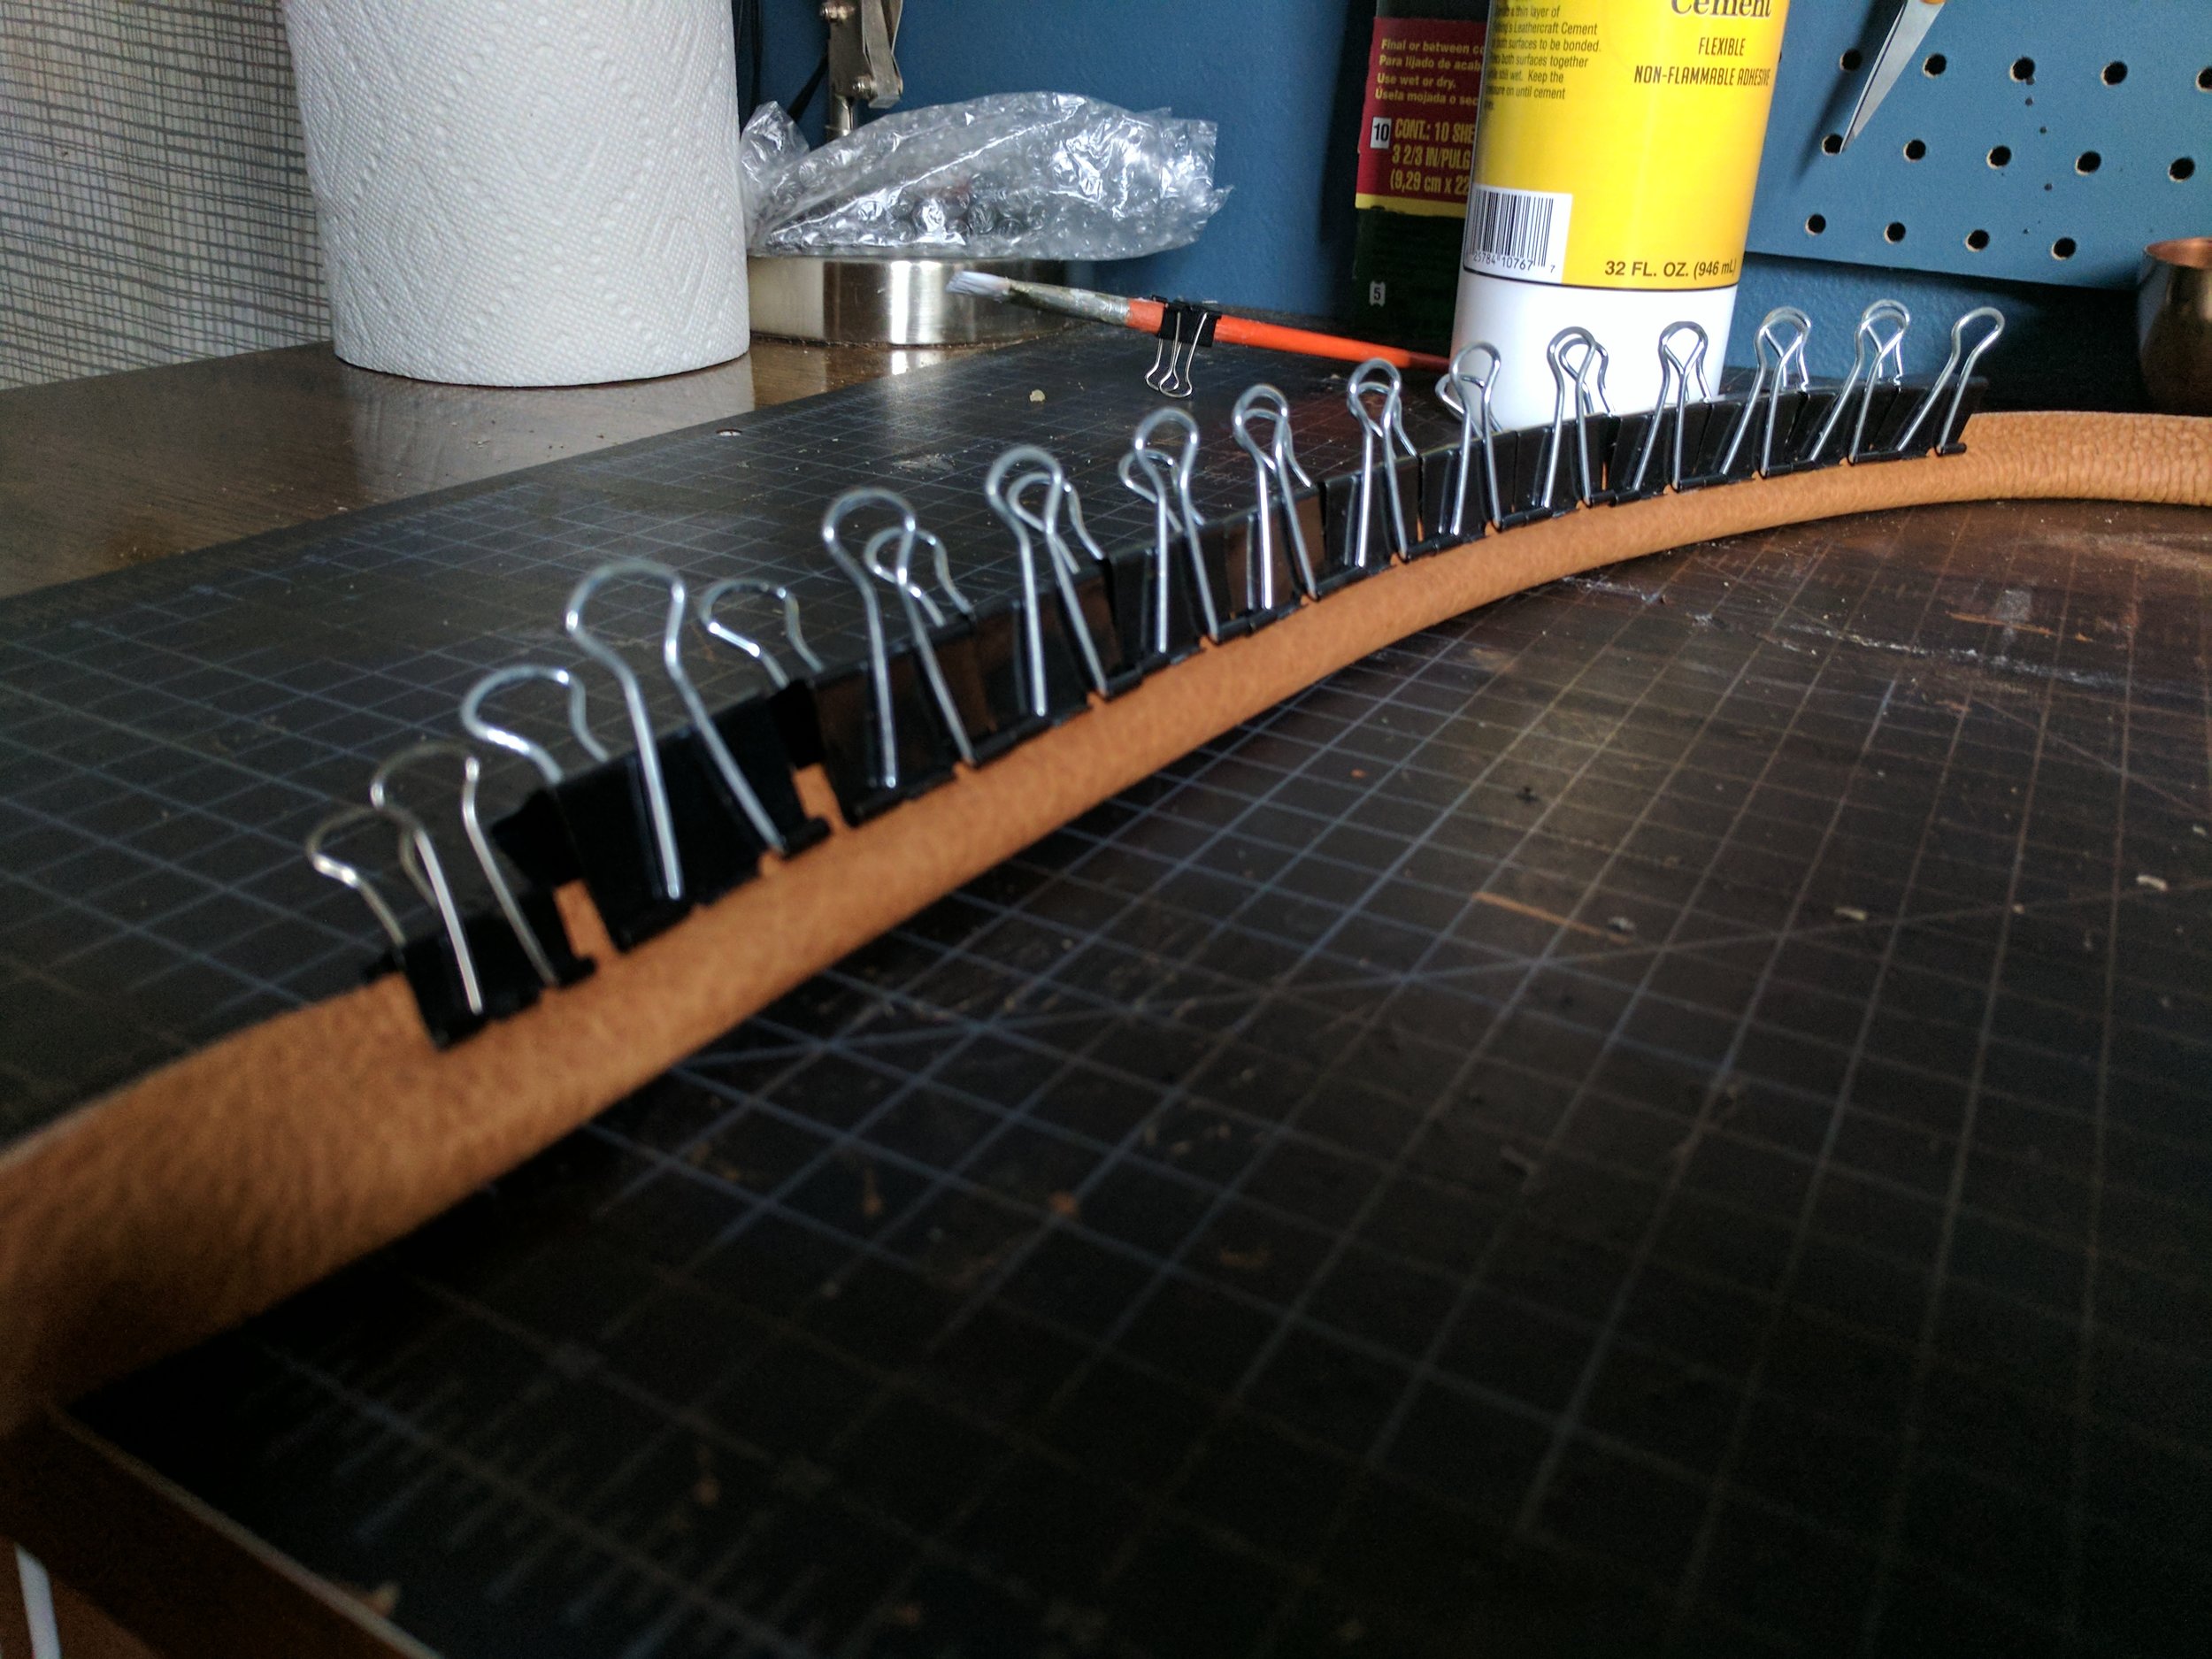
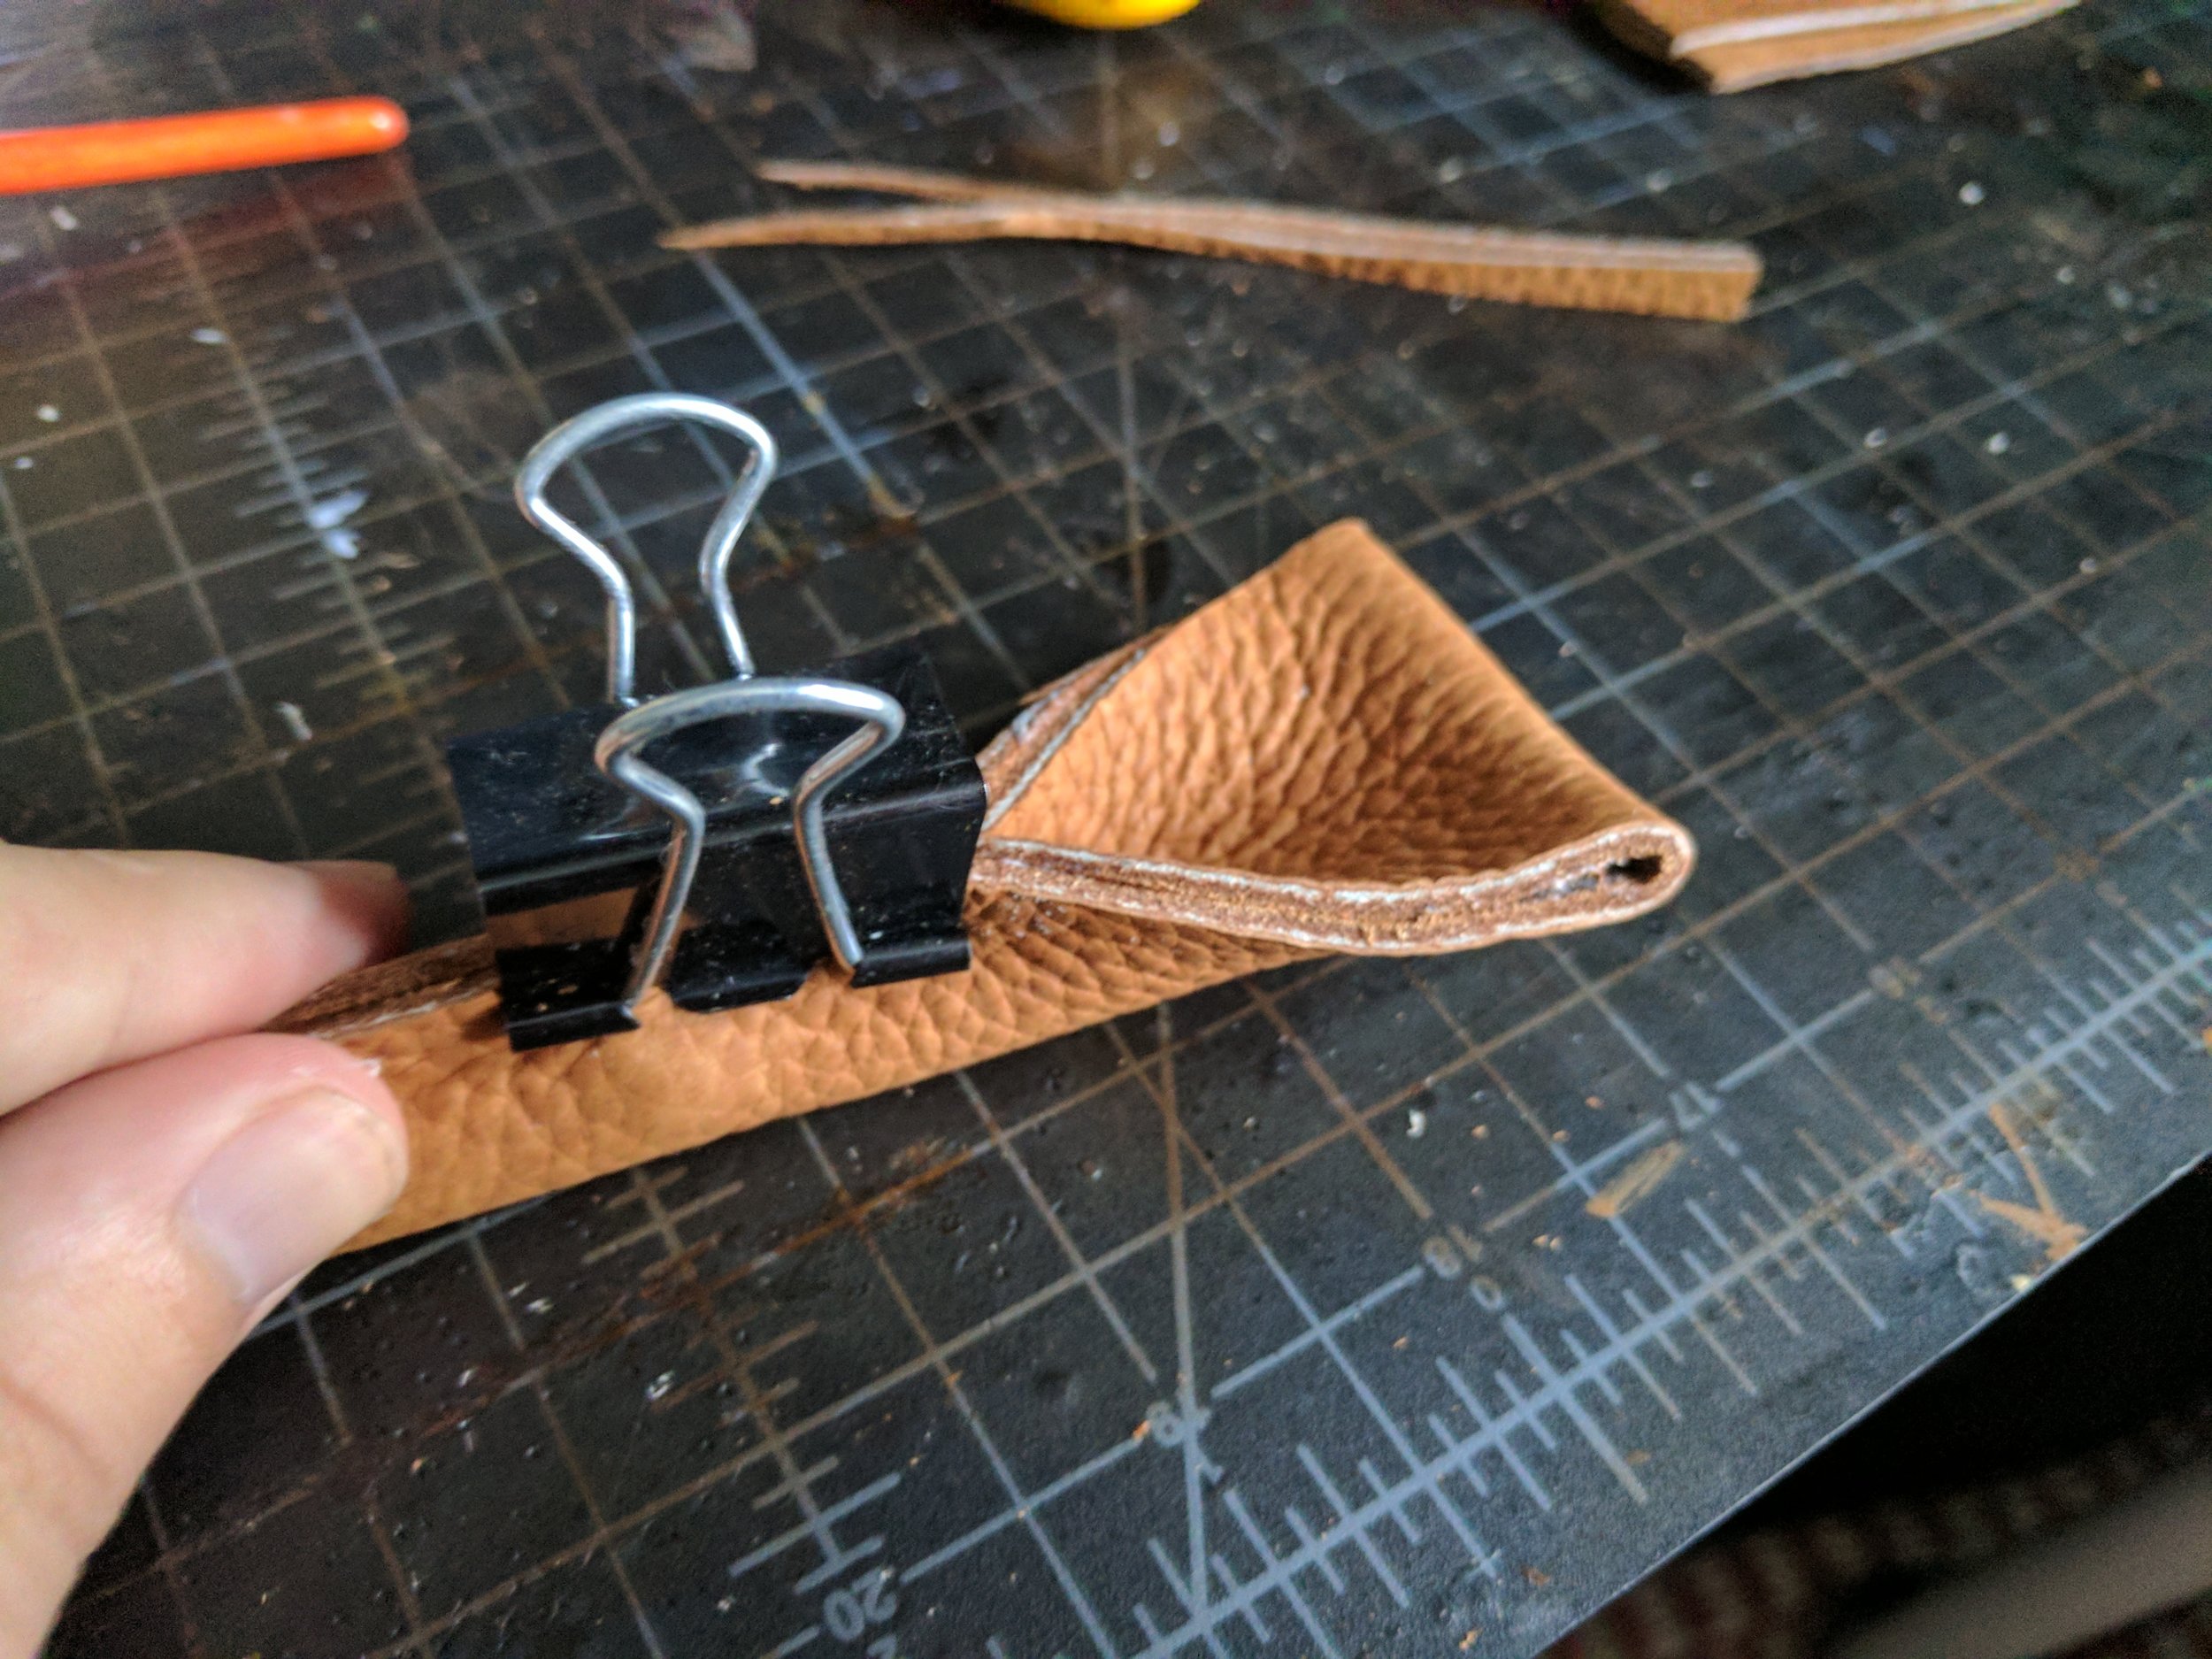
Once it's lined up, use binder clips to keep the leather together as the glue dries.
Step 3 - Fold the Endings
This is my favorite part because this is where the handles really start to come together.
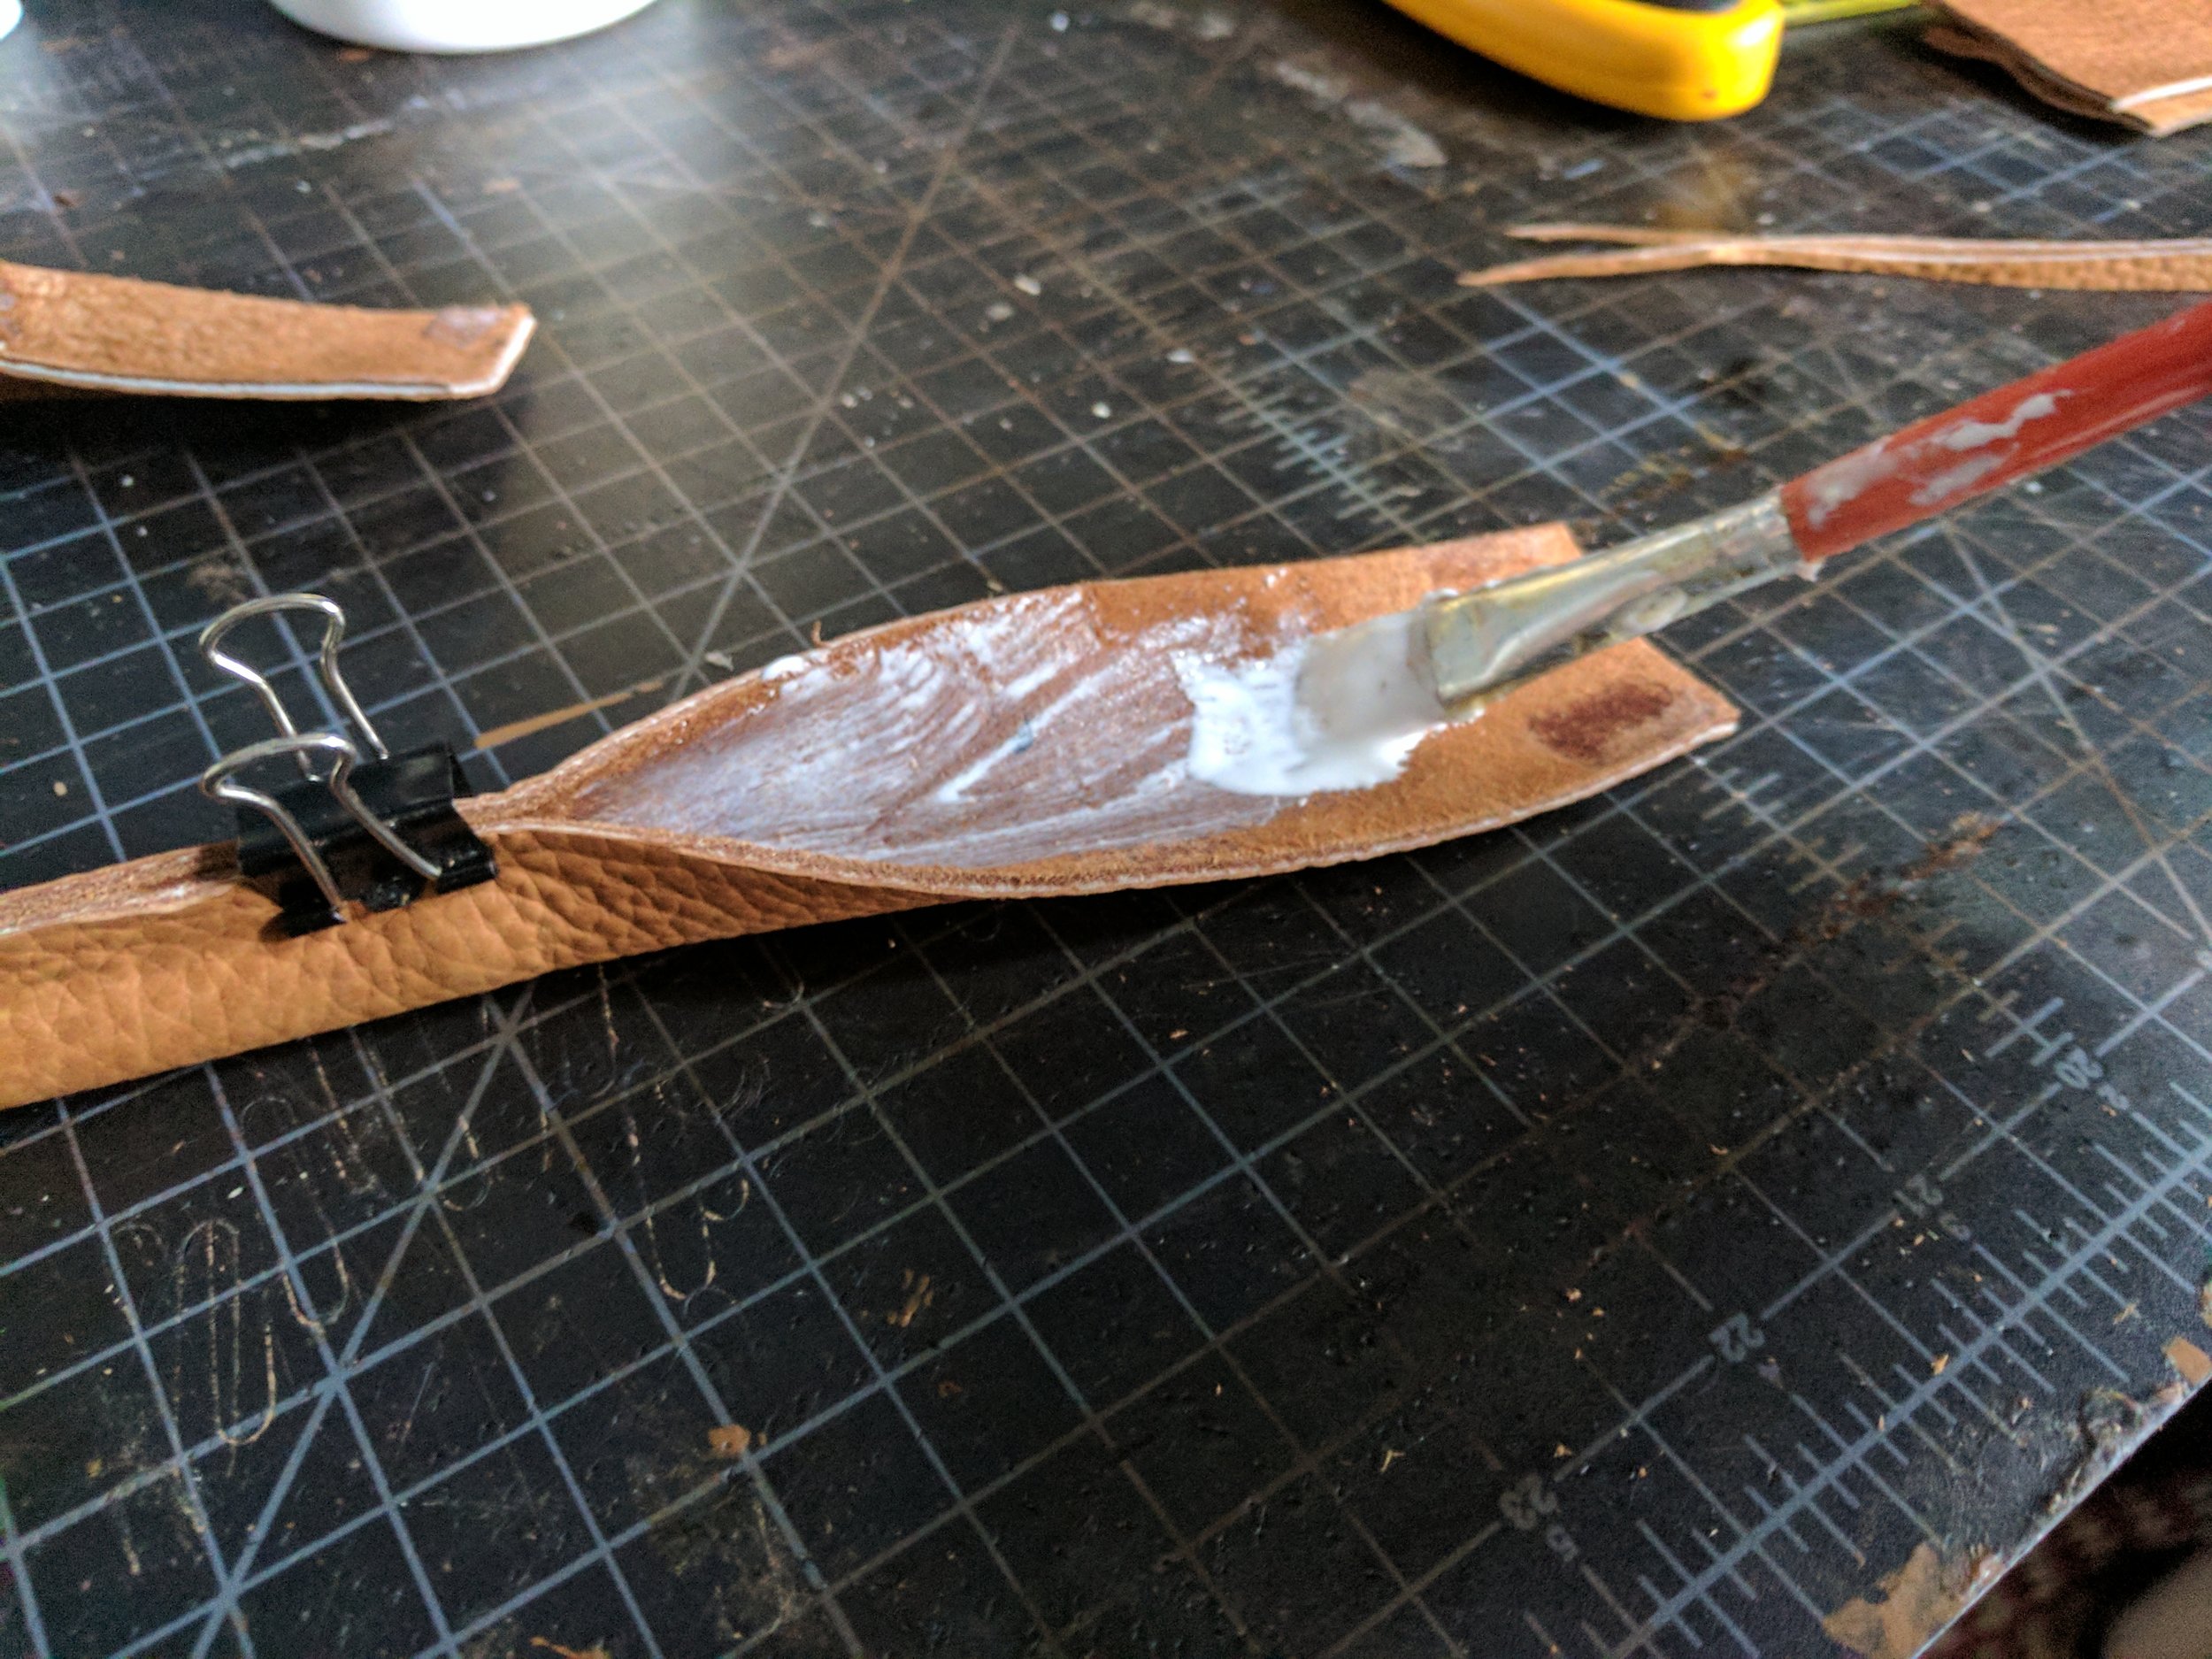
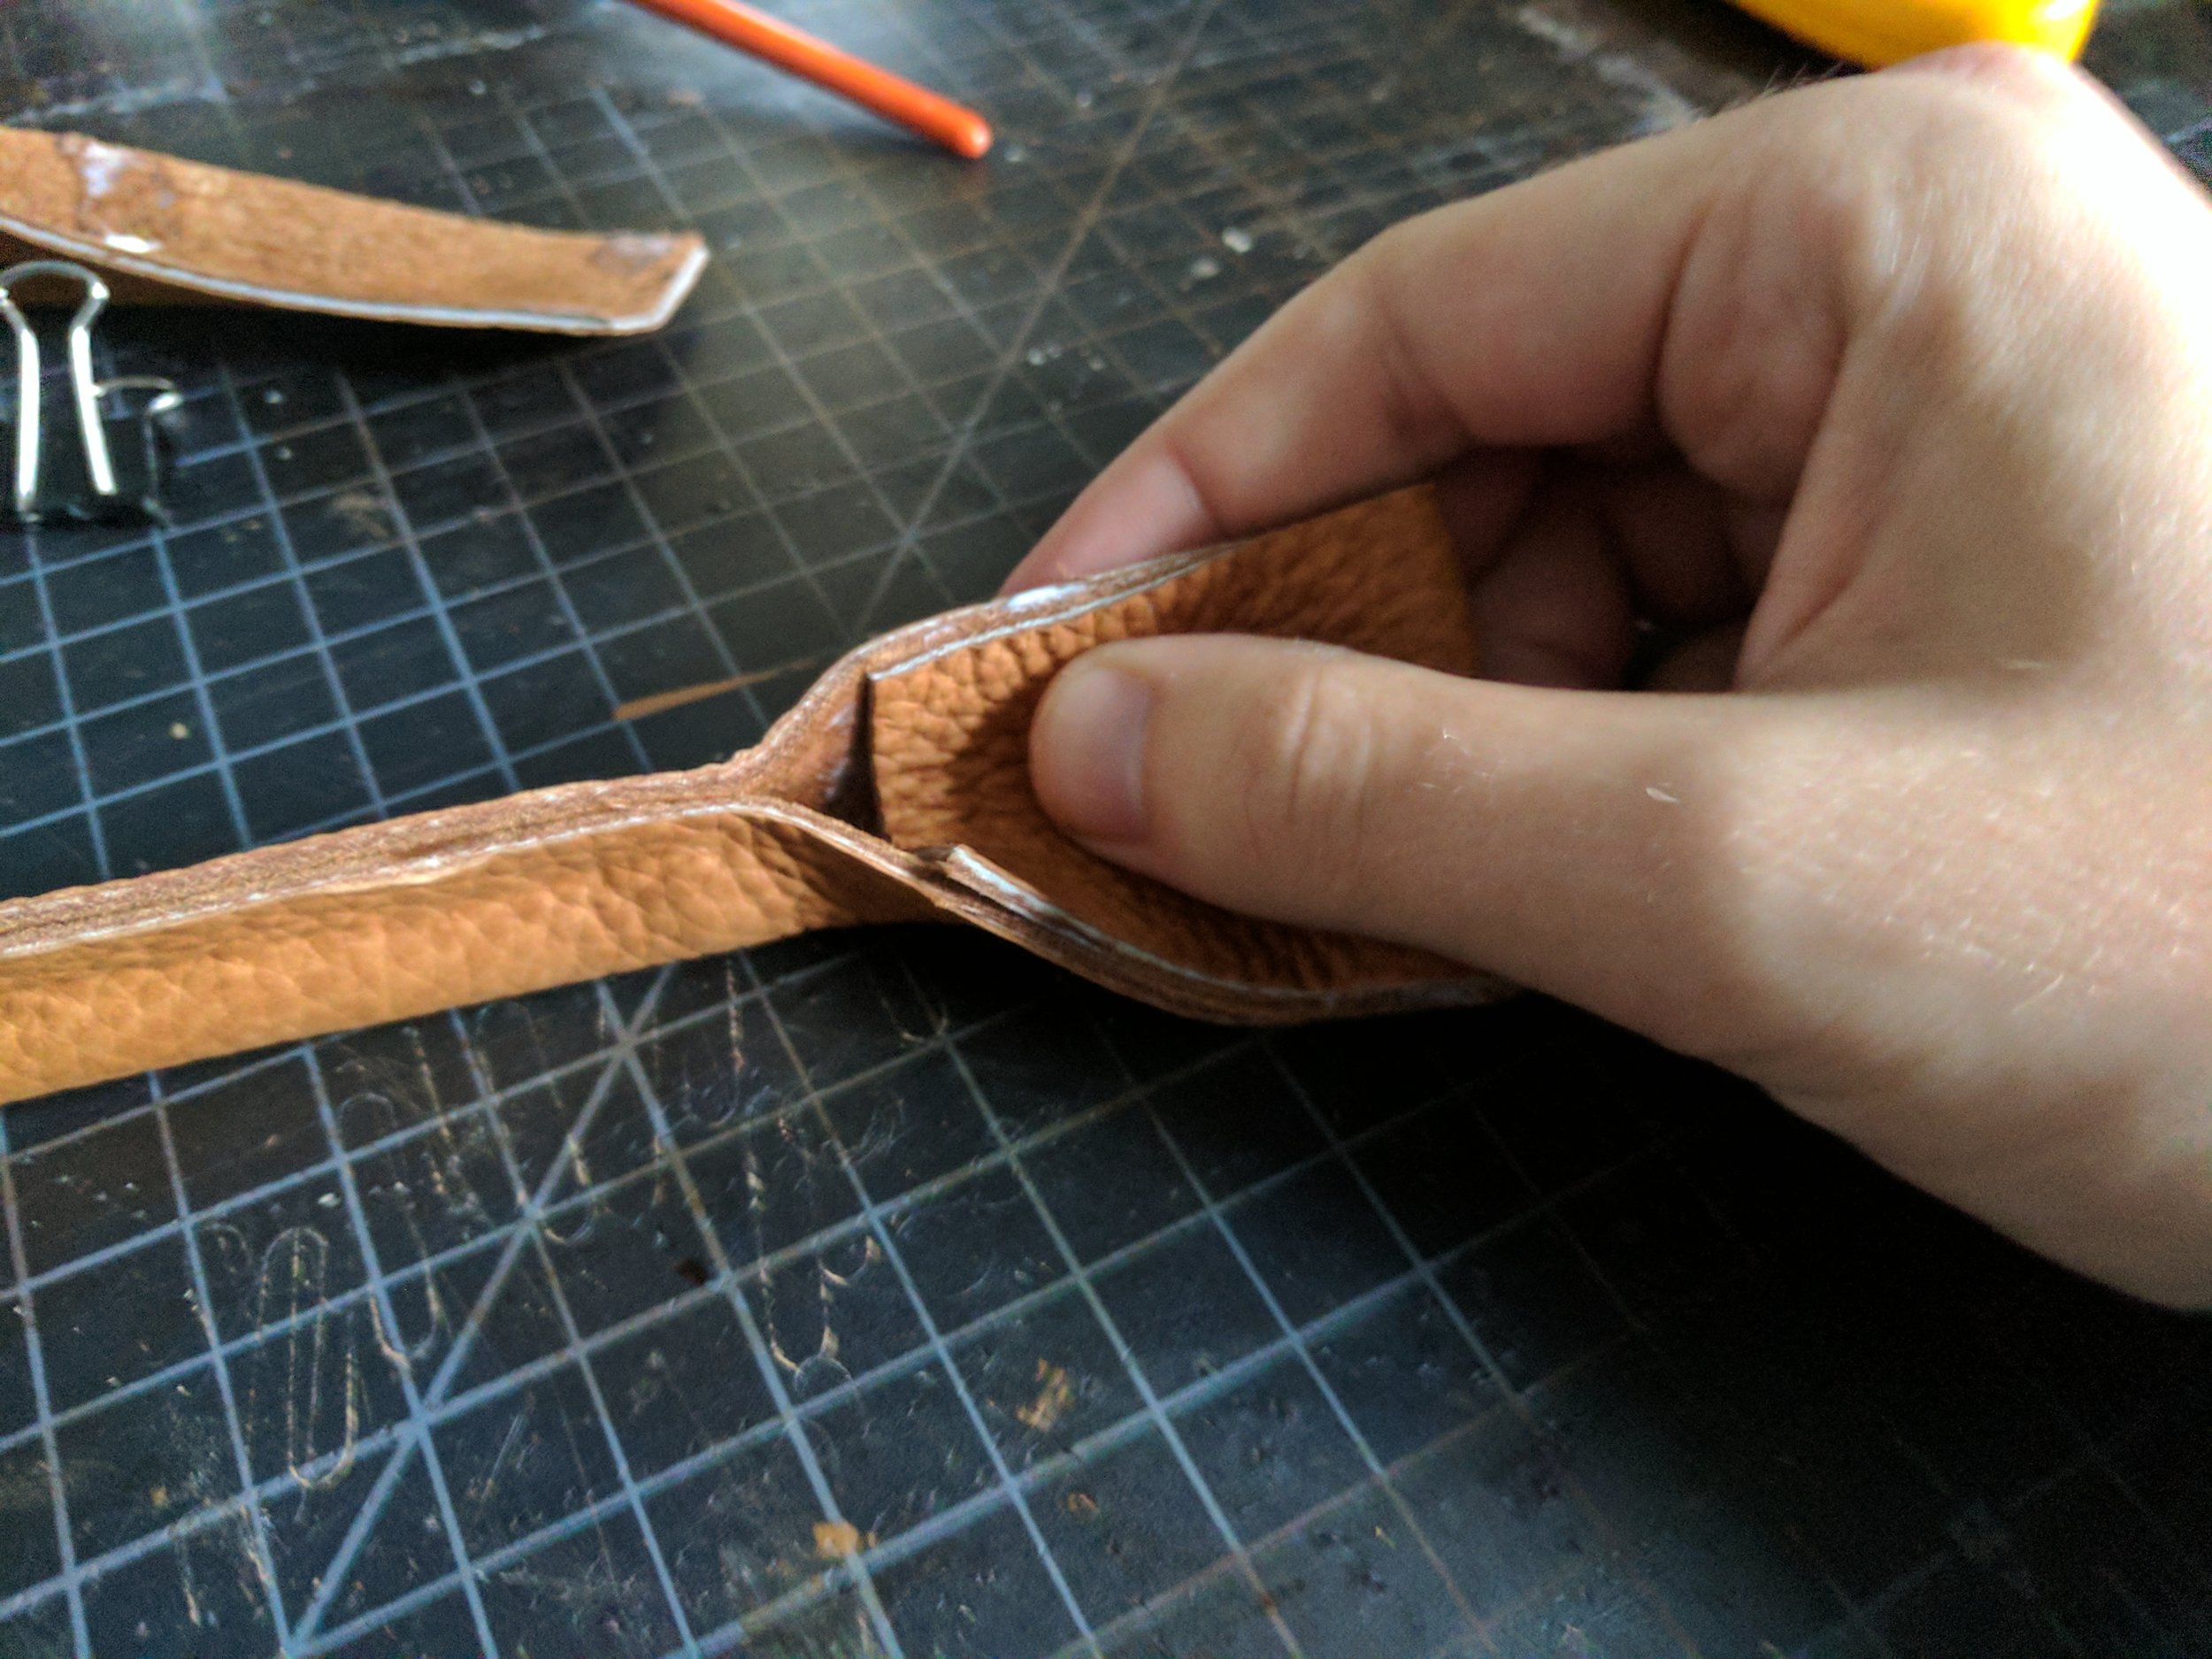
Glue the endings and fold them upwards until they cover the end of the cord. You may need to tuck the leather into the indentation that is created, so that the edges line up perfectly.
If you're unable to line the edges up perfectly, you can always trim the excess, but with most leathers (especially supple ones) it shouldn't be necessary.
Once you've folded the leather correctly, place a binder clip where the part you just folded over meets the cord.
Step 4 - Stitching
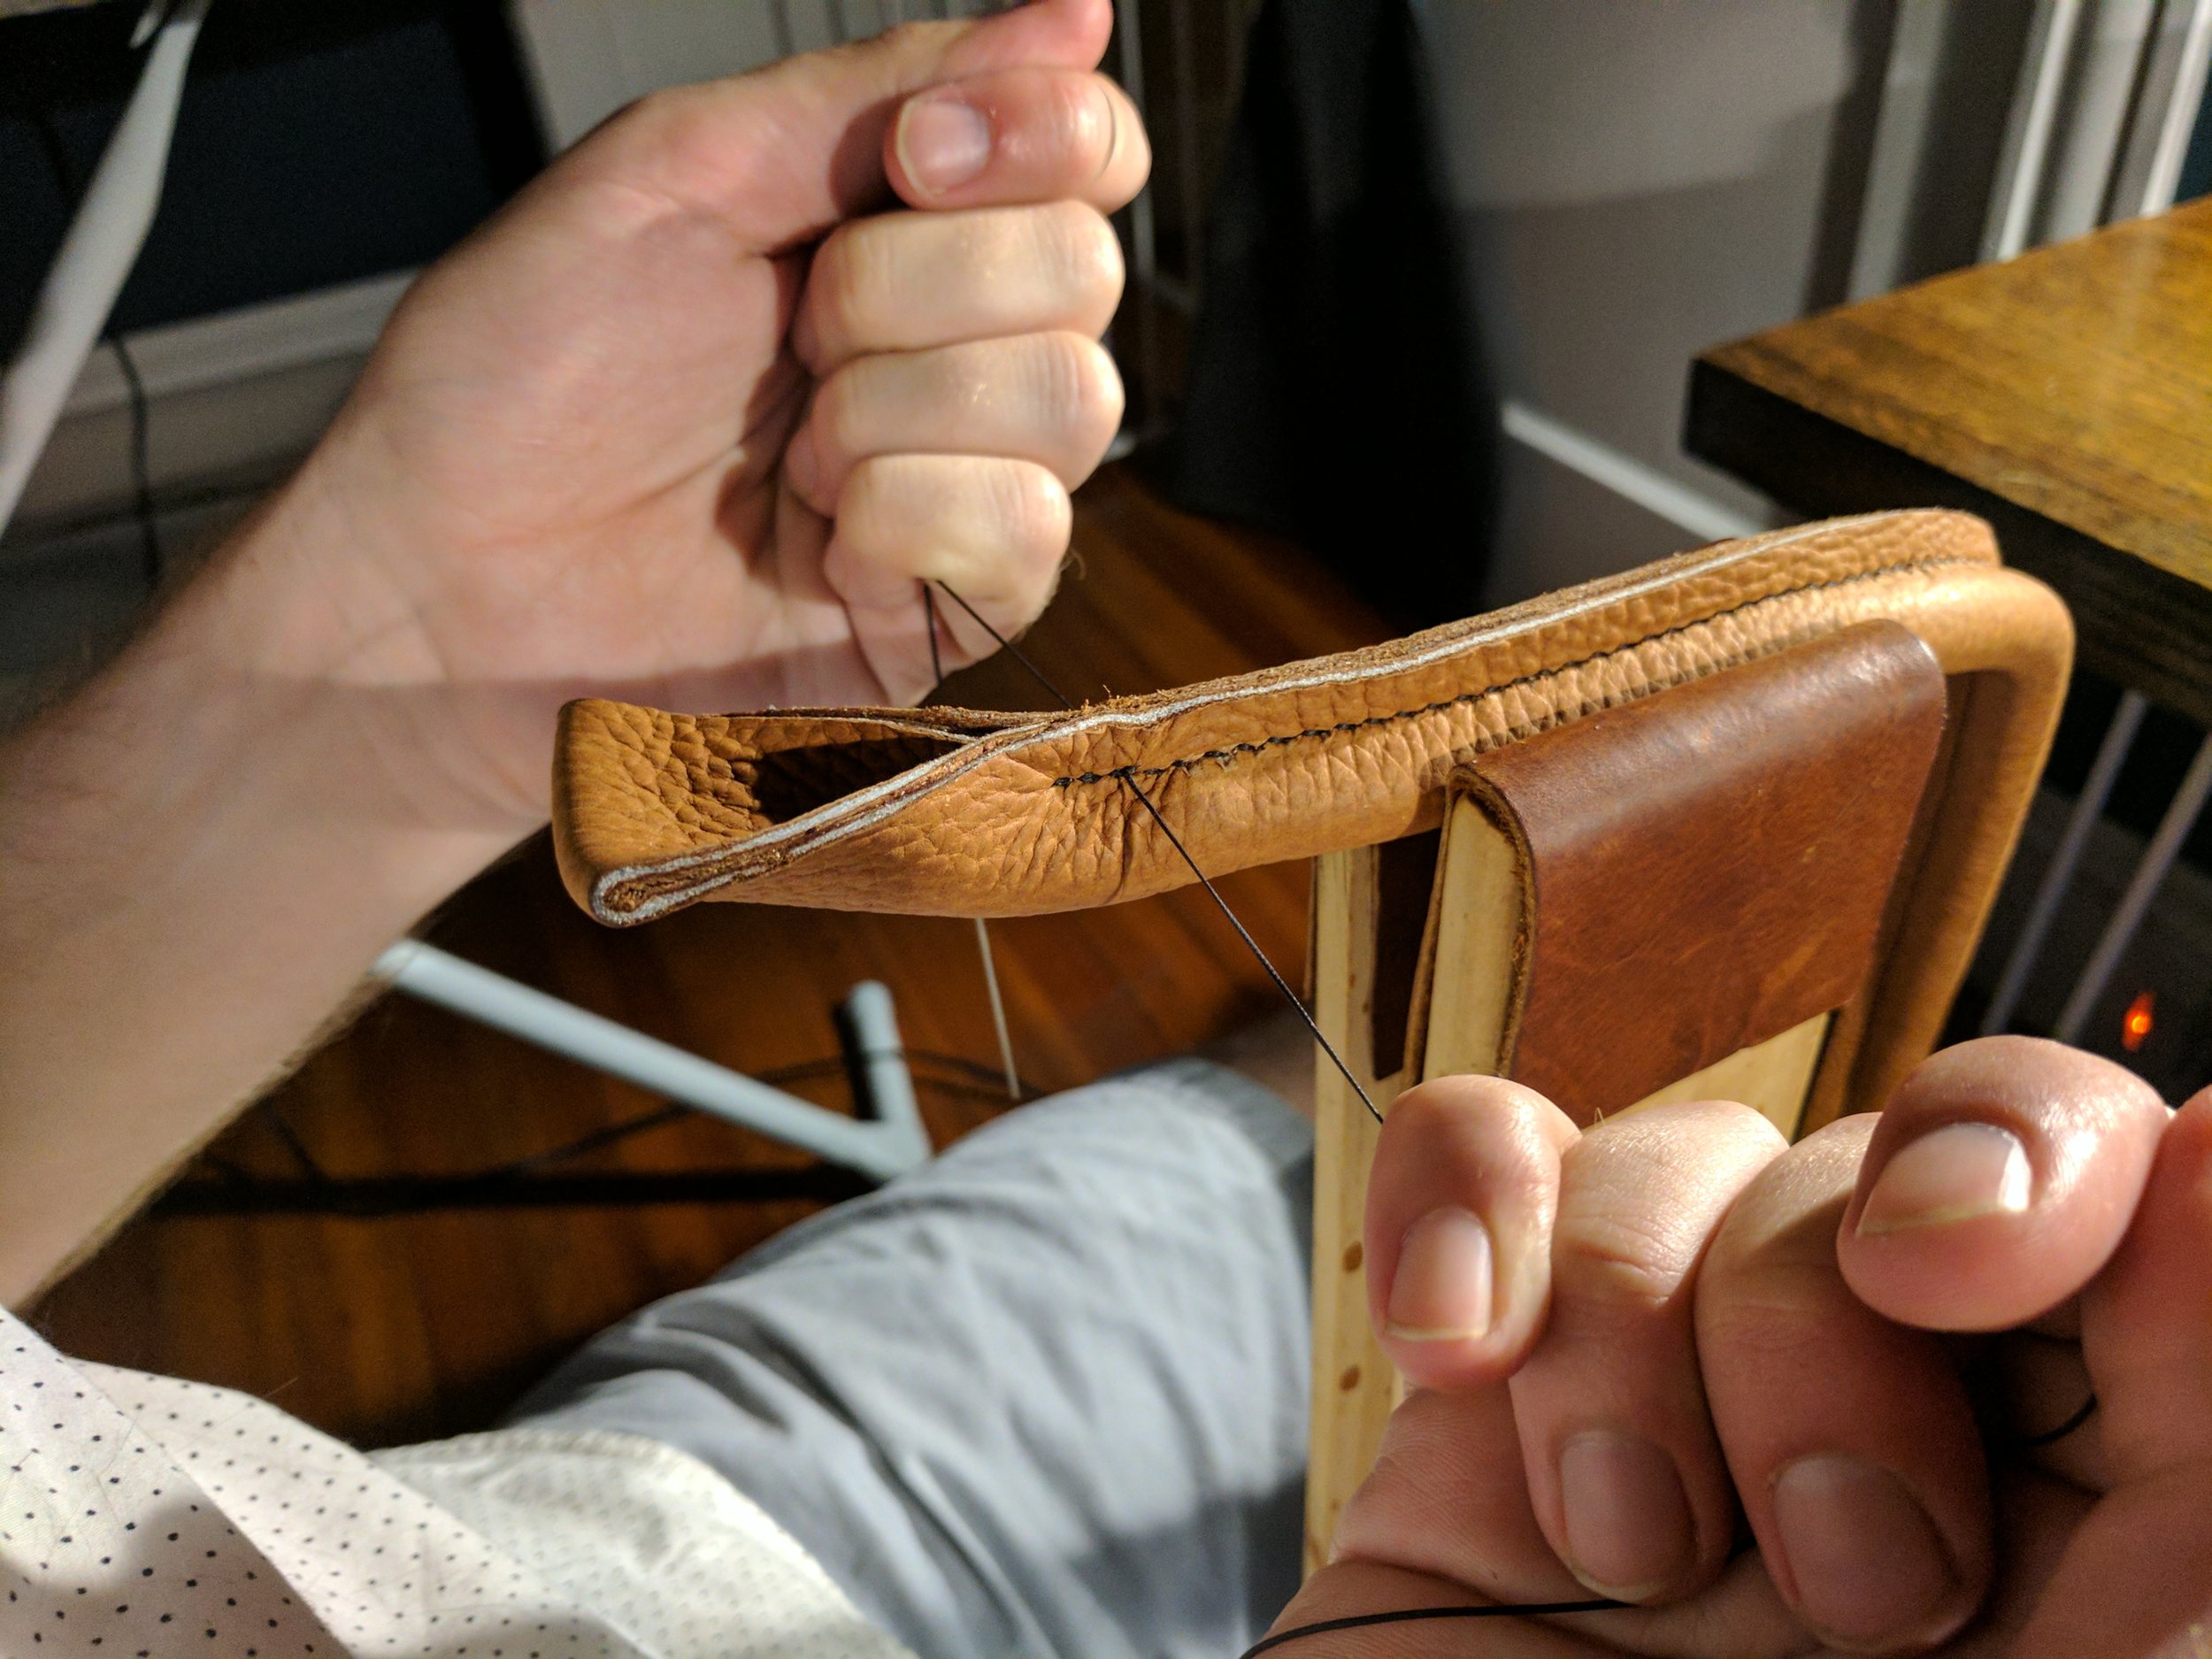
At this point, trimming excess leather is rather difficult, which is why I try to measure as precisely as I can in step one. If you feel you have too much excess leather along the edge of the strap, you can attempt to cut some of the excess off here. Just be warned that it is really difficult to get a clean straight cut.
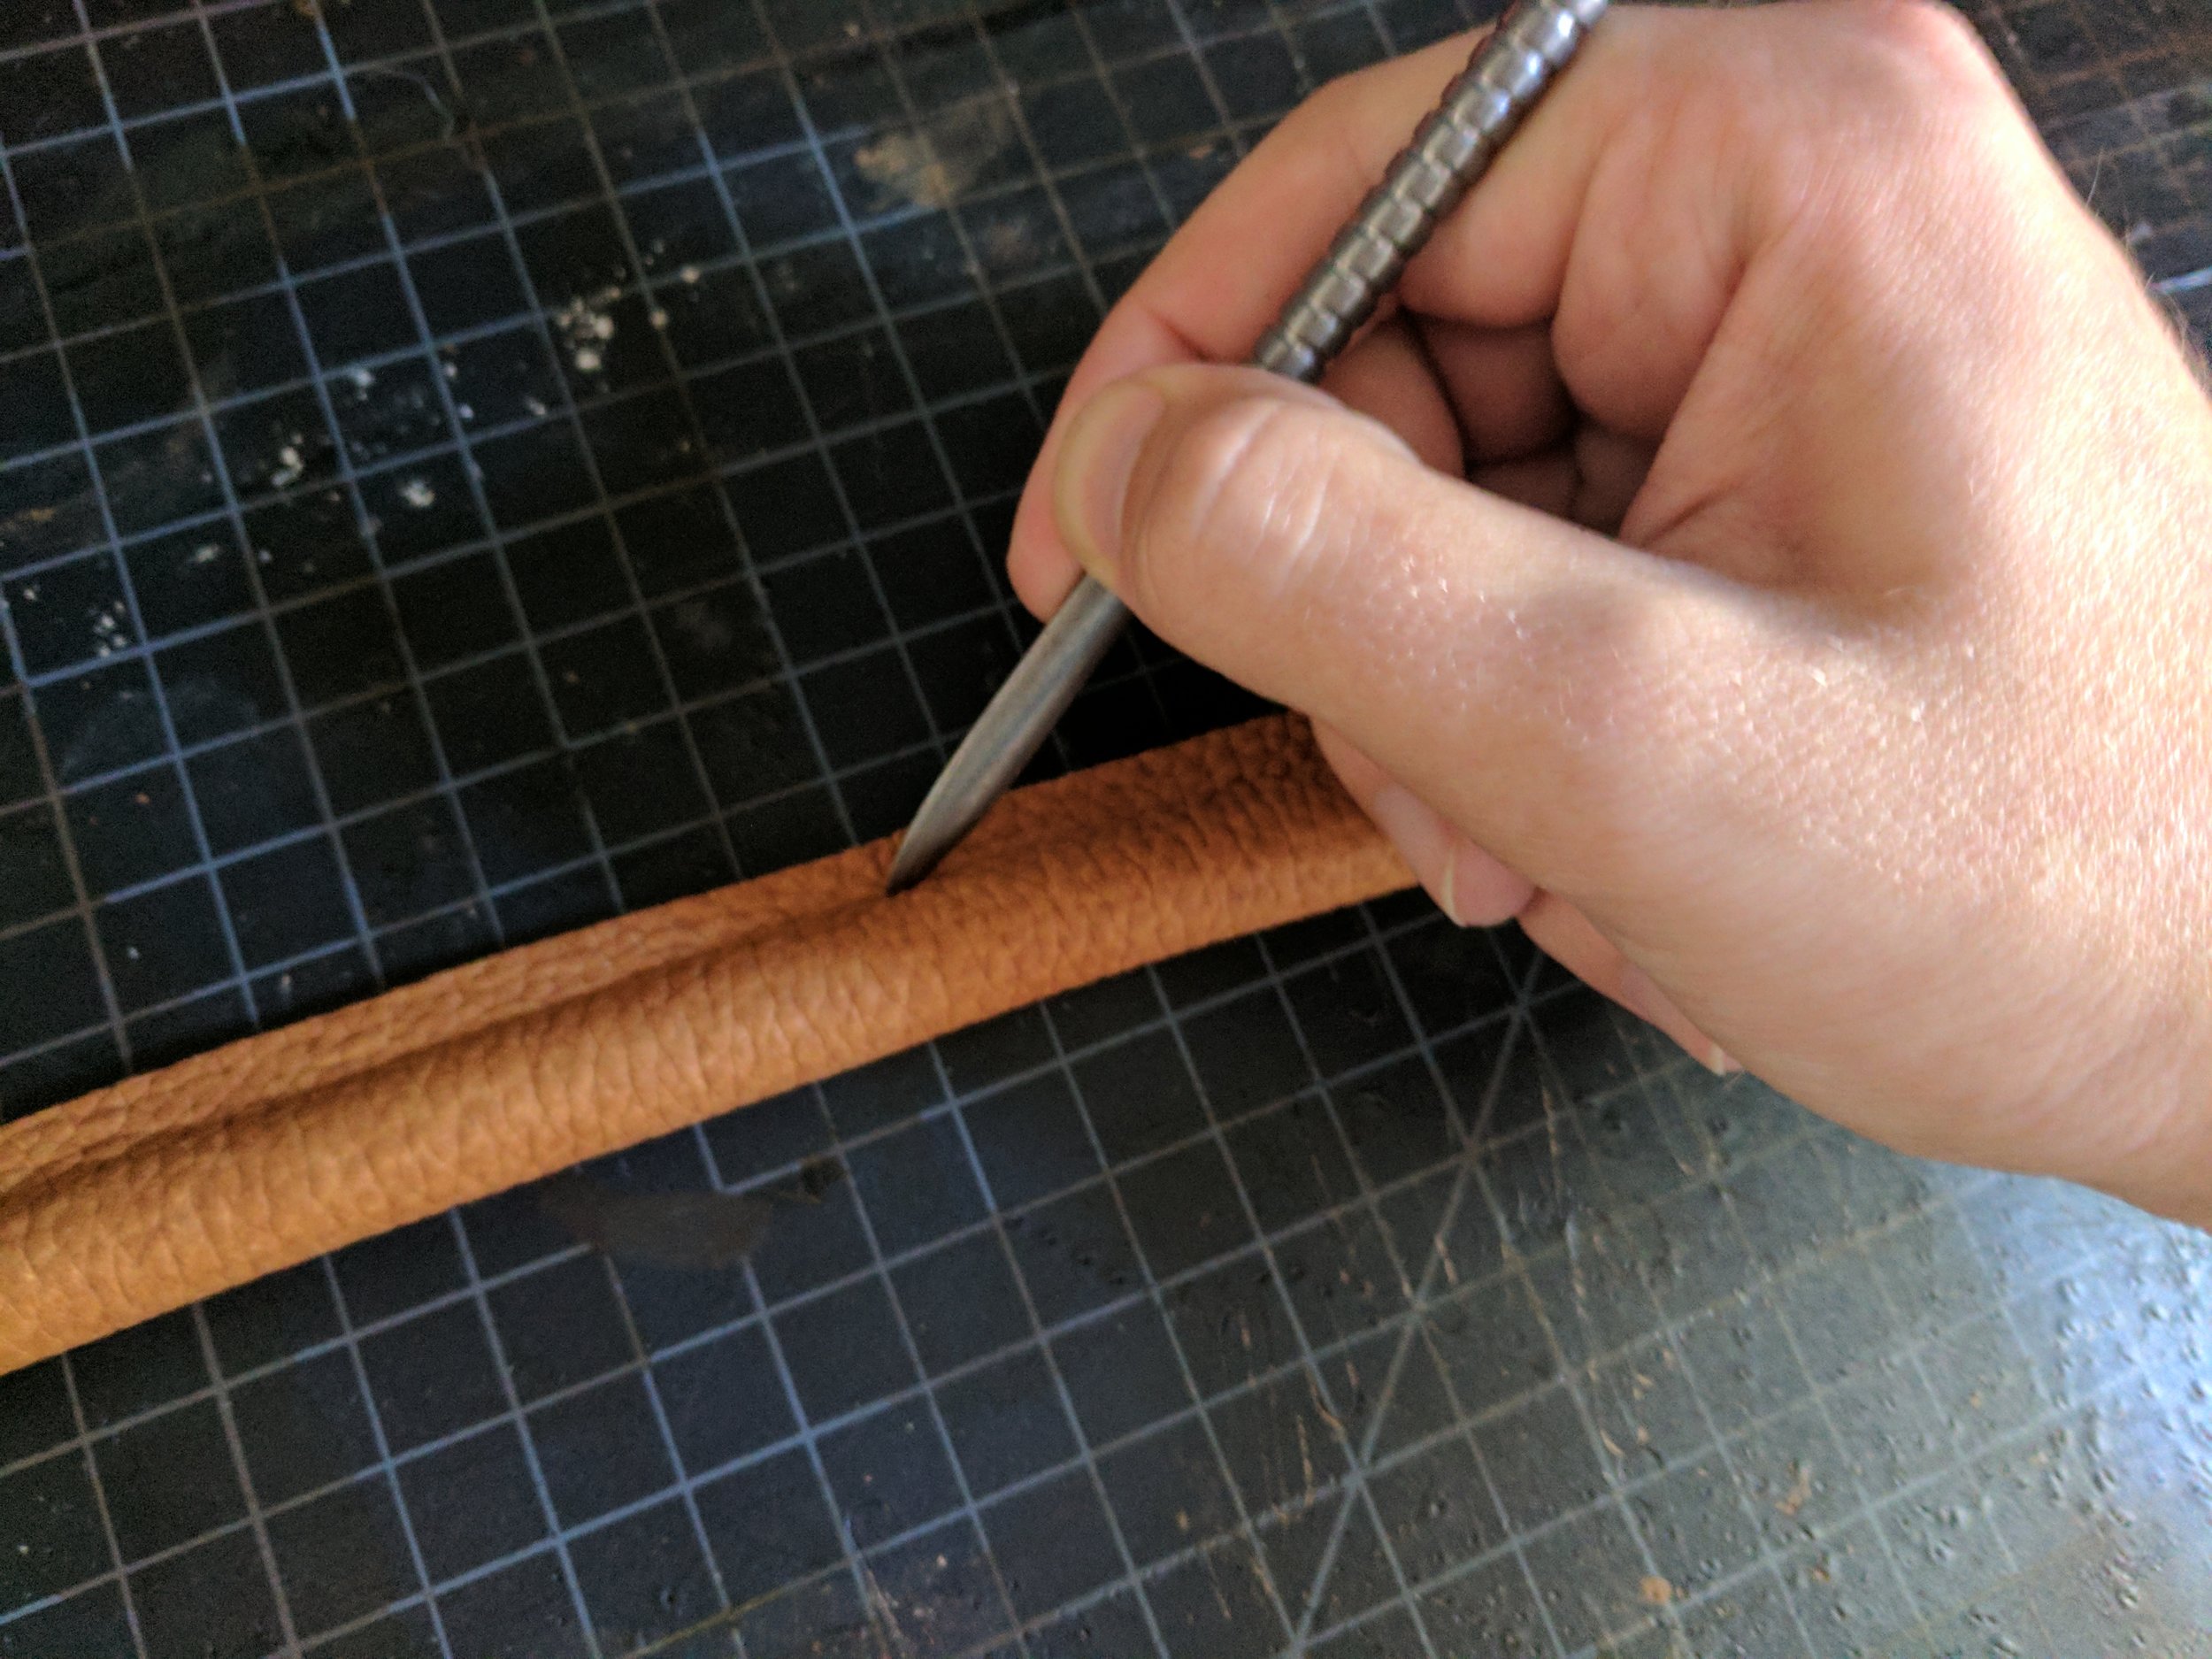
To start the stitching, I used a bone folder to create a line down the edge that is as close to the cord as possible. I typically run this line between the two points where the cord meets the ends that were created in the previous step. This leaves the ends unstitched, but I will rivet them to the bag later.
However, if you want to stitch the entire thing (ends included) you can. All you need to do is continue to run the line down one side of the ends. You'll start and end your stitch at the base of each end. Then you'll come back and make another stitching line on the other side of the end and stitch it with a separate piece of thread.
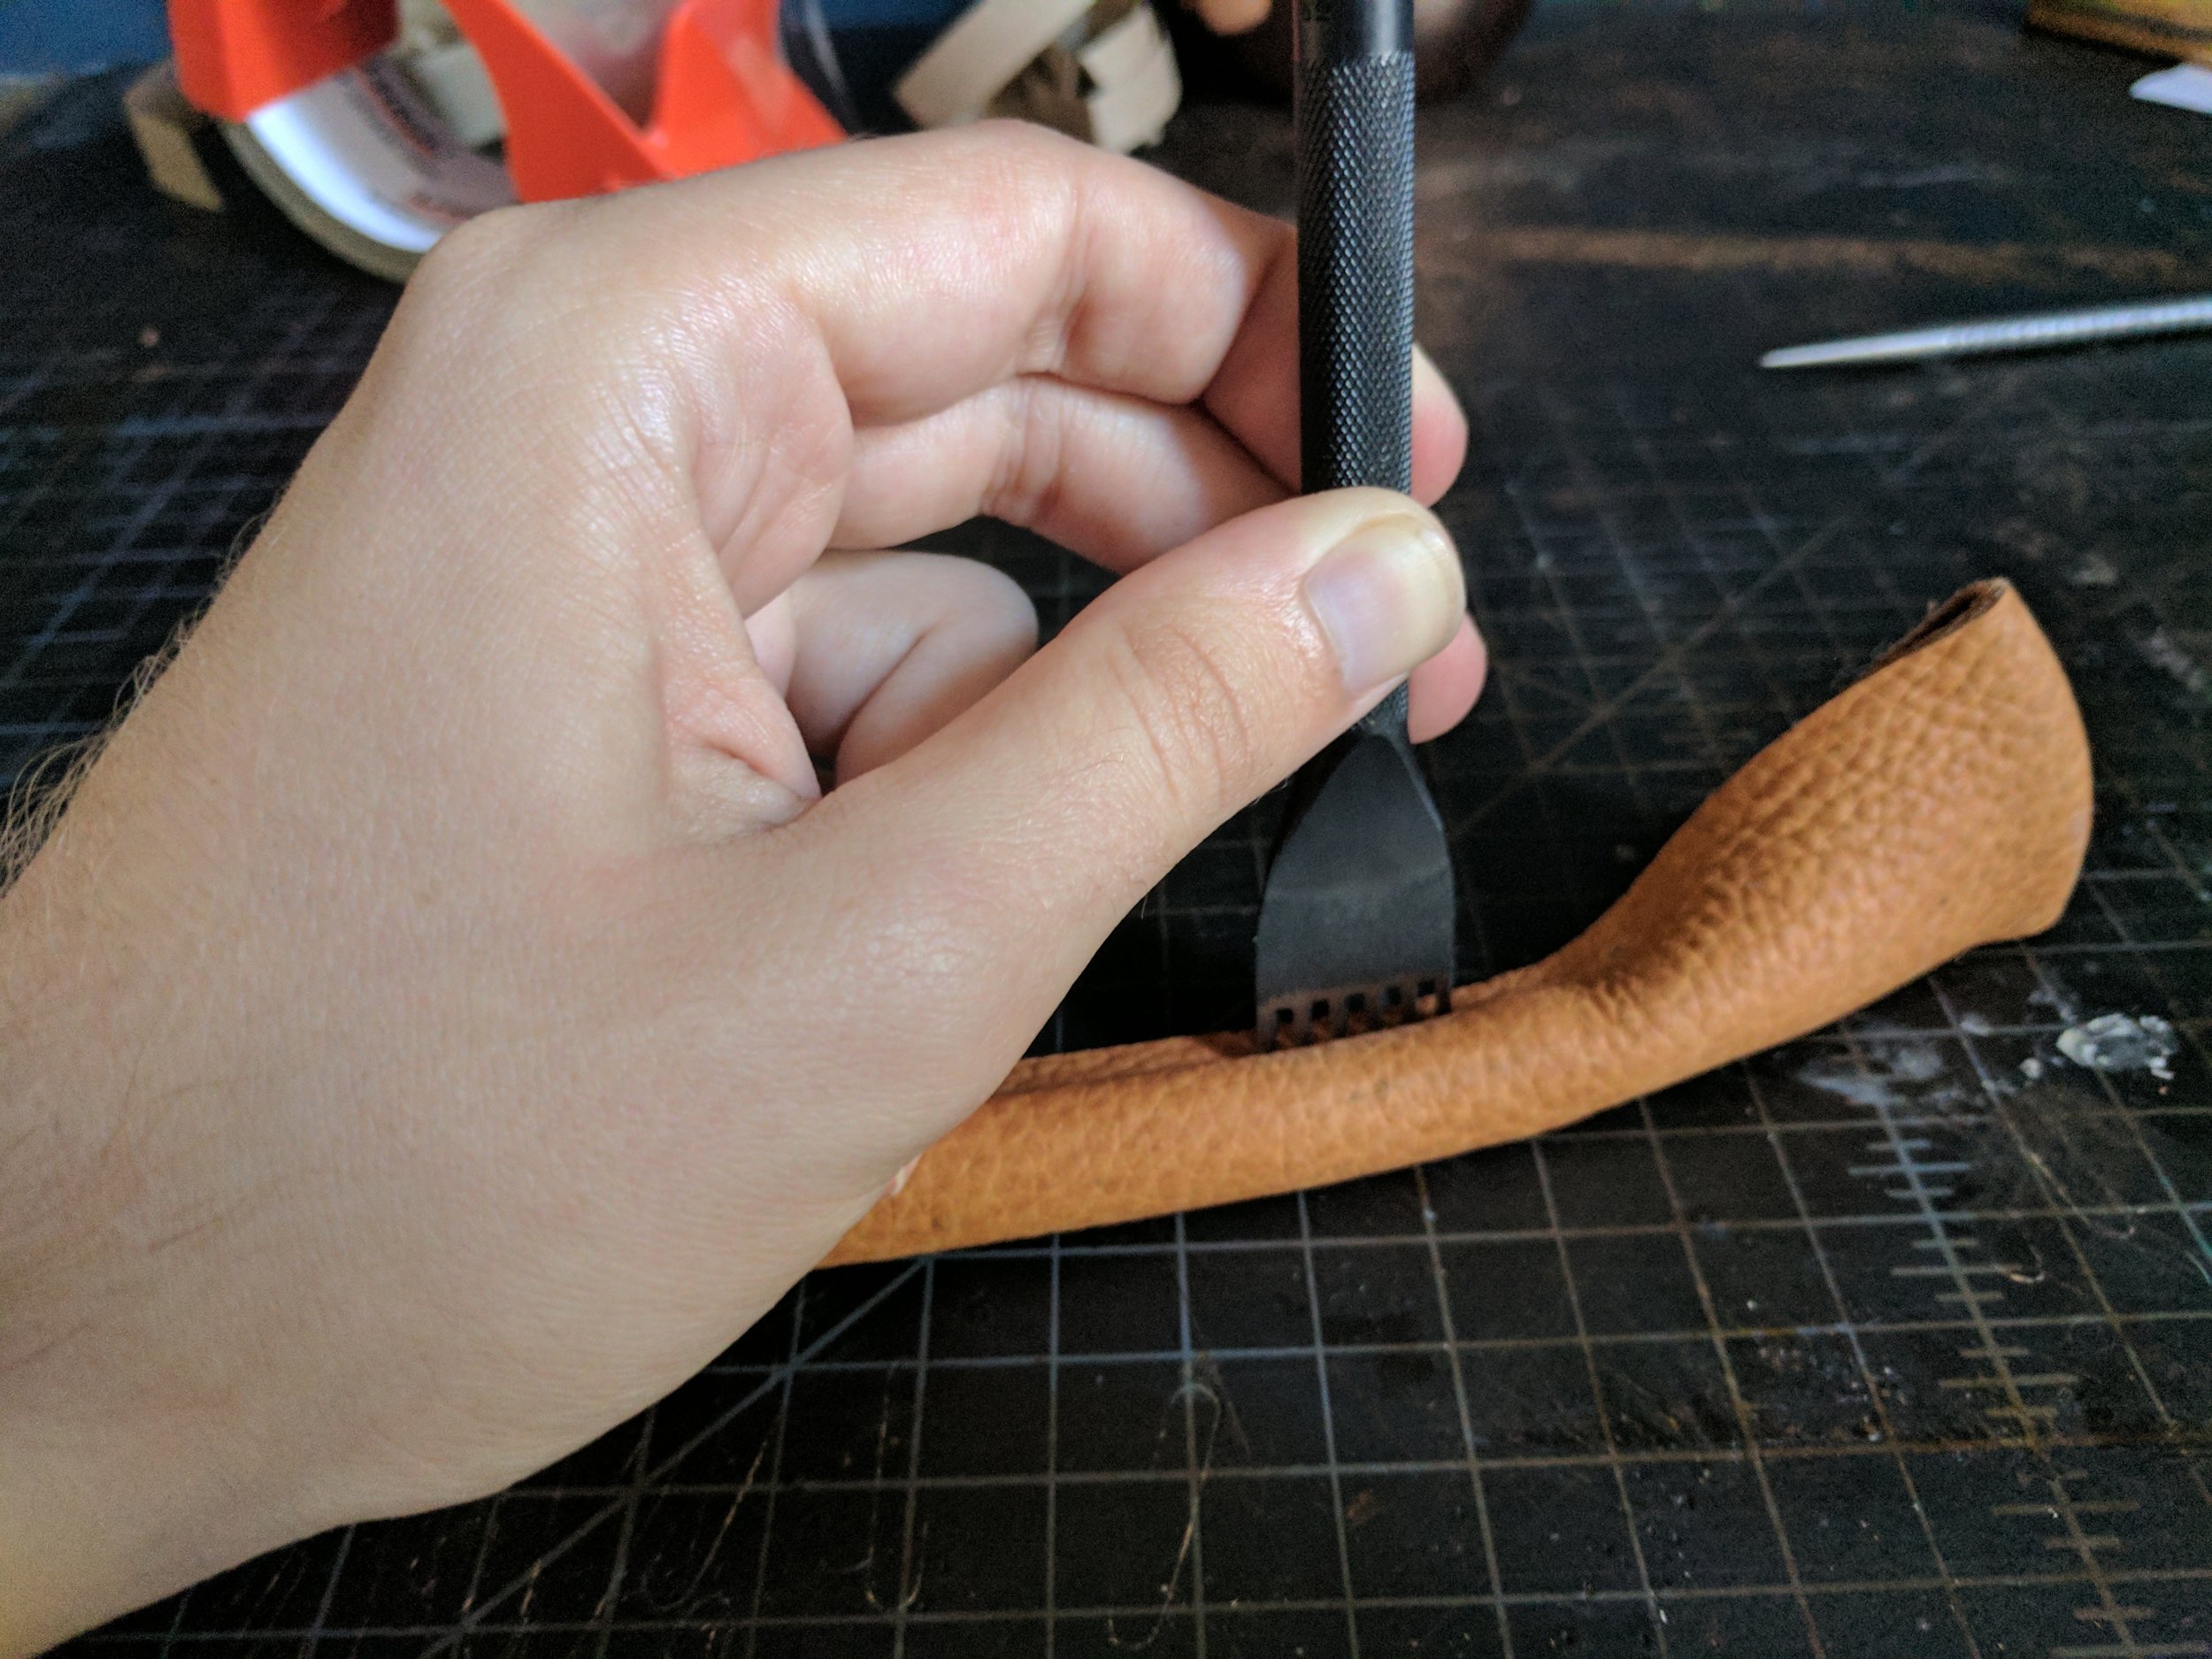
But returning back to what I did: I took a diamond chisel and create my holes, making sure to keep the chisel snug against the cord and perpendicular to the leather as I punch it through.
I then stitched from one end to the other, edge painted the edges, and riveted the handles to the bag. I don't want to get into stitching or edge painting much because this is just about handle construction. However you can learn how to stitching and edge paint here:
As I mentioned at the top of the post, when I switched over to this kind of bag, it increased the quality of the bag dramatically. I'm really anxious to see what kind of bags you make with corded handles. Feel free to drop a link to some pictures of a bag you made in the comments below or share it with me on Instagram or Facebook.


