Below is a blog post written by Neil Ghosh of Whiskey Straps. Neil is one of the many great people I've met through the leather craft subreddit. If you haven't been over there yet, seriously go check it out. The community is extremely helpful and supportive. One of the things that I really appreciate about Neil is how thoughtful he is. It comes through in the way he treats people on reddit. It showed during our conversations planning this post. And it definitely shows in his work. Neil's not even a year into leatherworking and I think the extreme thoughtfulness he gives his work is what makes it stand out even early on. Check out what he has to say:

One of the most important activities in a person’s life is creating something.
Not everyone considers themselves a “creative” per se, but as children, we all played pretend and built legos, and used our imaginations to create new worlds and characters. Creating something novel is a deeply intrinsically fulfilling process.
For many years music was my creative outlet, but in the recent years I have been steeped in the responsibilities of adulthood and have not had performing to give me that outlet so I needed a new craft to devote myself to learning.
I discovered leather as a medium about a year ago. Leather is a very unique medium of expression since there are so many facets and qualities to it; the smell, the feel and temper, the depth of color and pullup, the story of both the animal’s life and scars, marks, and imperfections, as well as the story of the item’s owner and the contributions and creases of use and wear. No other type of item in a person’s life has this same type of emotional connection and storytelling ability – one does not grow attached to a pair of socks or a hat the way they become deeply fond of a handmade wallet or a great pair of leather boots.
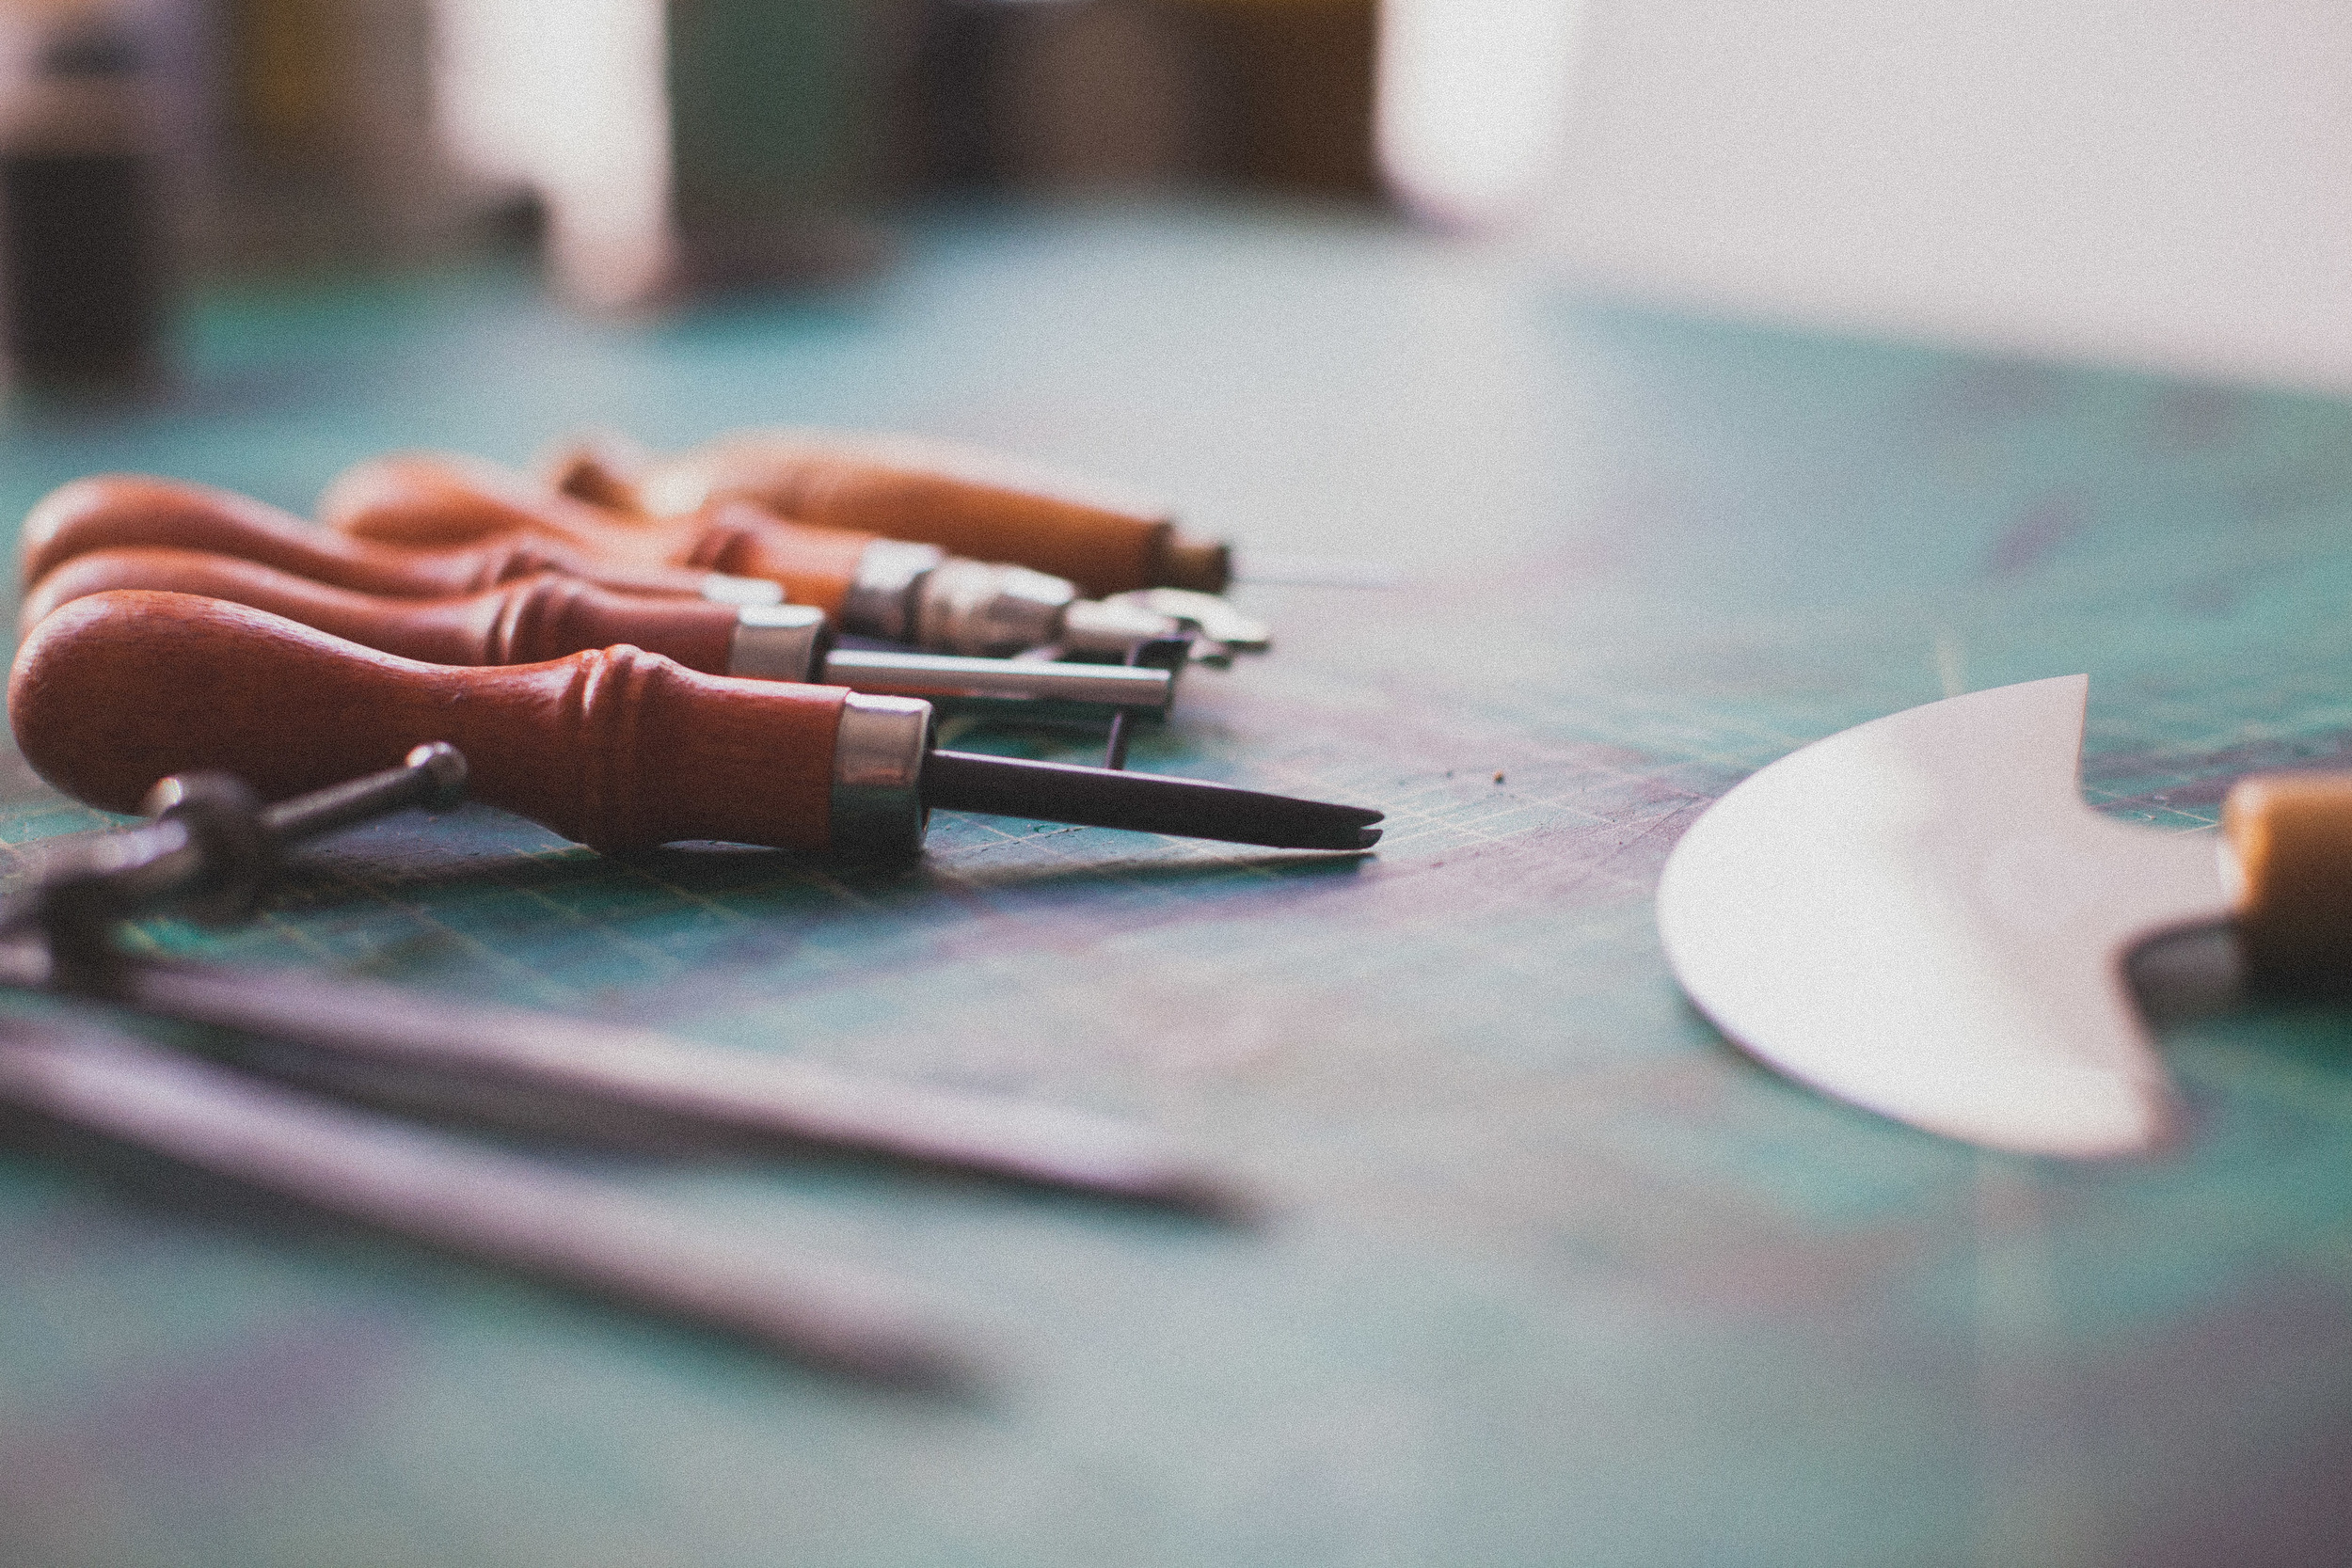
But despite the fulfillment one gets from creating things using this once-living medium, there are early frustrations that can easily derail the passion from really developing. When I first started working with leather, I was, as most are, somewhat averse to the cost of materials and tools. “After all”, I reasoned, “how much difference can a rotary cutter make vs a utility knife? Why would I pay $30 for a Bob Douglas awl blade when Tandy has them for $5? Why in the world are head knives so expensive?” The truth is, the “buy nice or buy twice” rule isn’t the easiest to follow when “buying nice” can mean a several hundred dollar difference in start-up costs.
My first set of tools purchased:
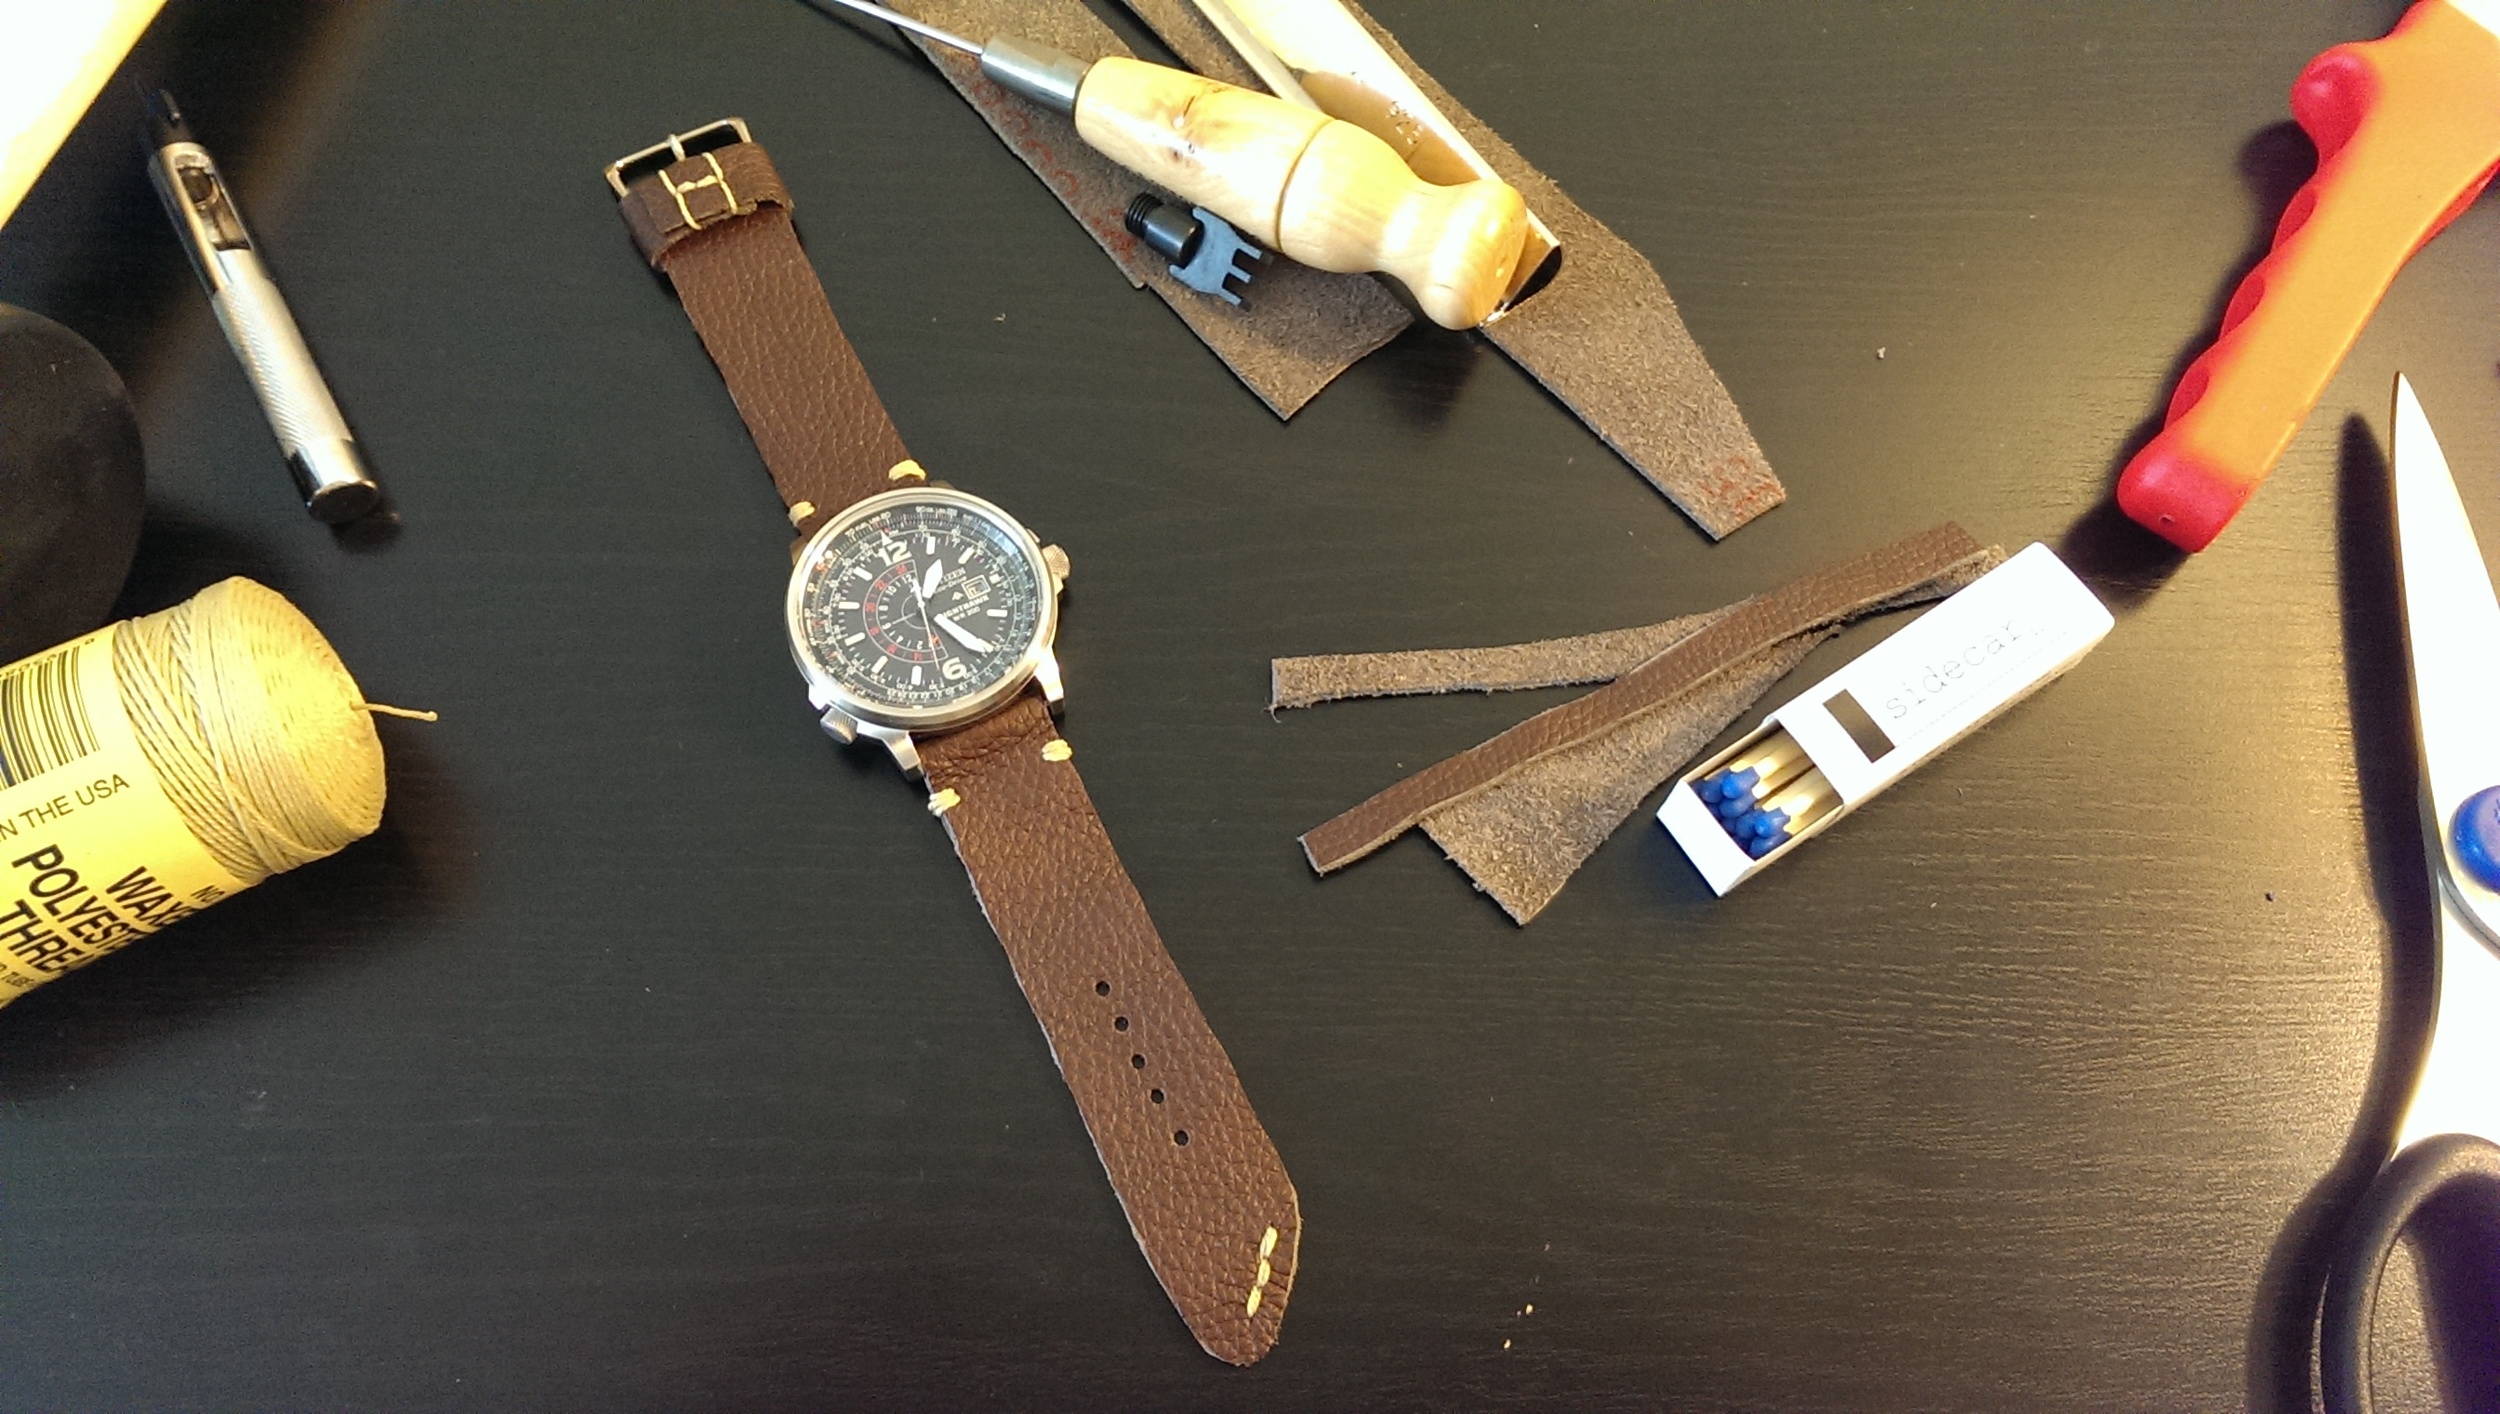
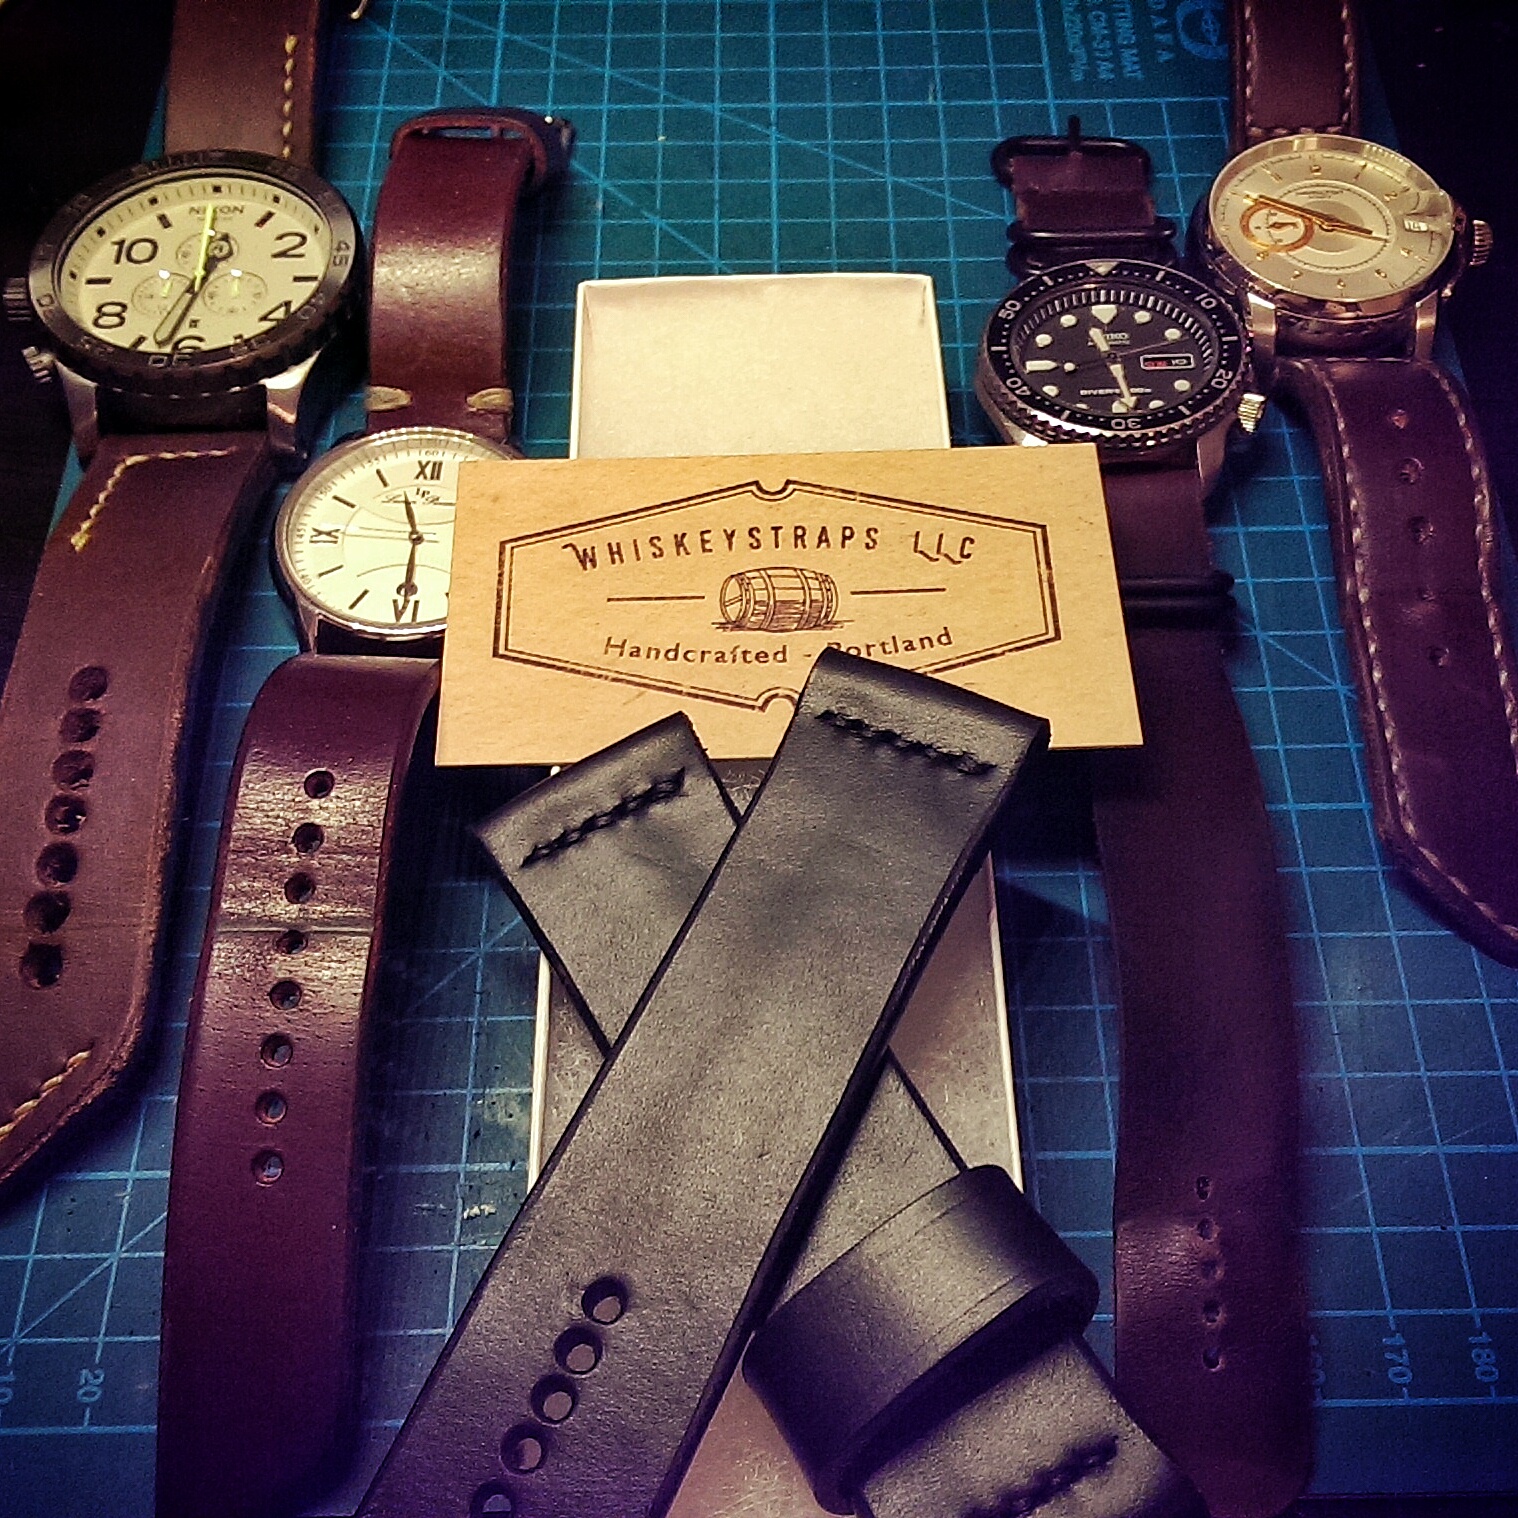
Neil's First Project
- A Stanley Utility knife
- An exacto knife
- A pair of kitchen scissors
- A couple harness needles
- A spool of Speedy Stitcher waxed thread
- A round scratch awl
- A Tandy thonging chisel set
- A bottle of black edge-kote
- Some chrome-tanned garment leather scraps
I’m cringing just making this list.
My first project was a watch strap. As you can see, my lines were far from straight since they were cut with scissors, the edges could not be finished as they were chrome-tanned and too soft to bevel or burnish. Stitching was minimal, and I had no idea what a saddle-stitch was. In addition, the thread I was using was intended for use with a stitching awl, which I did not have, and the thonging chisel I was using was meant for lacing edges, not saddle-stitching.
It helps to know what your target items are early on, spending time learning what the different types of leather are, and what type of aesthetic you want to go for can really help choosing the right tools the first time. There are already good resources on the basic tools to buy and what types of leather to use for a given project, but what then? Let’s assume you have purchased the correct basic set of tools – what next?
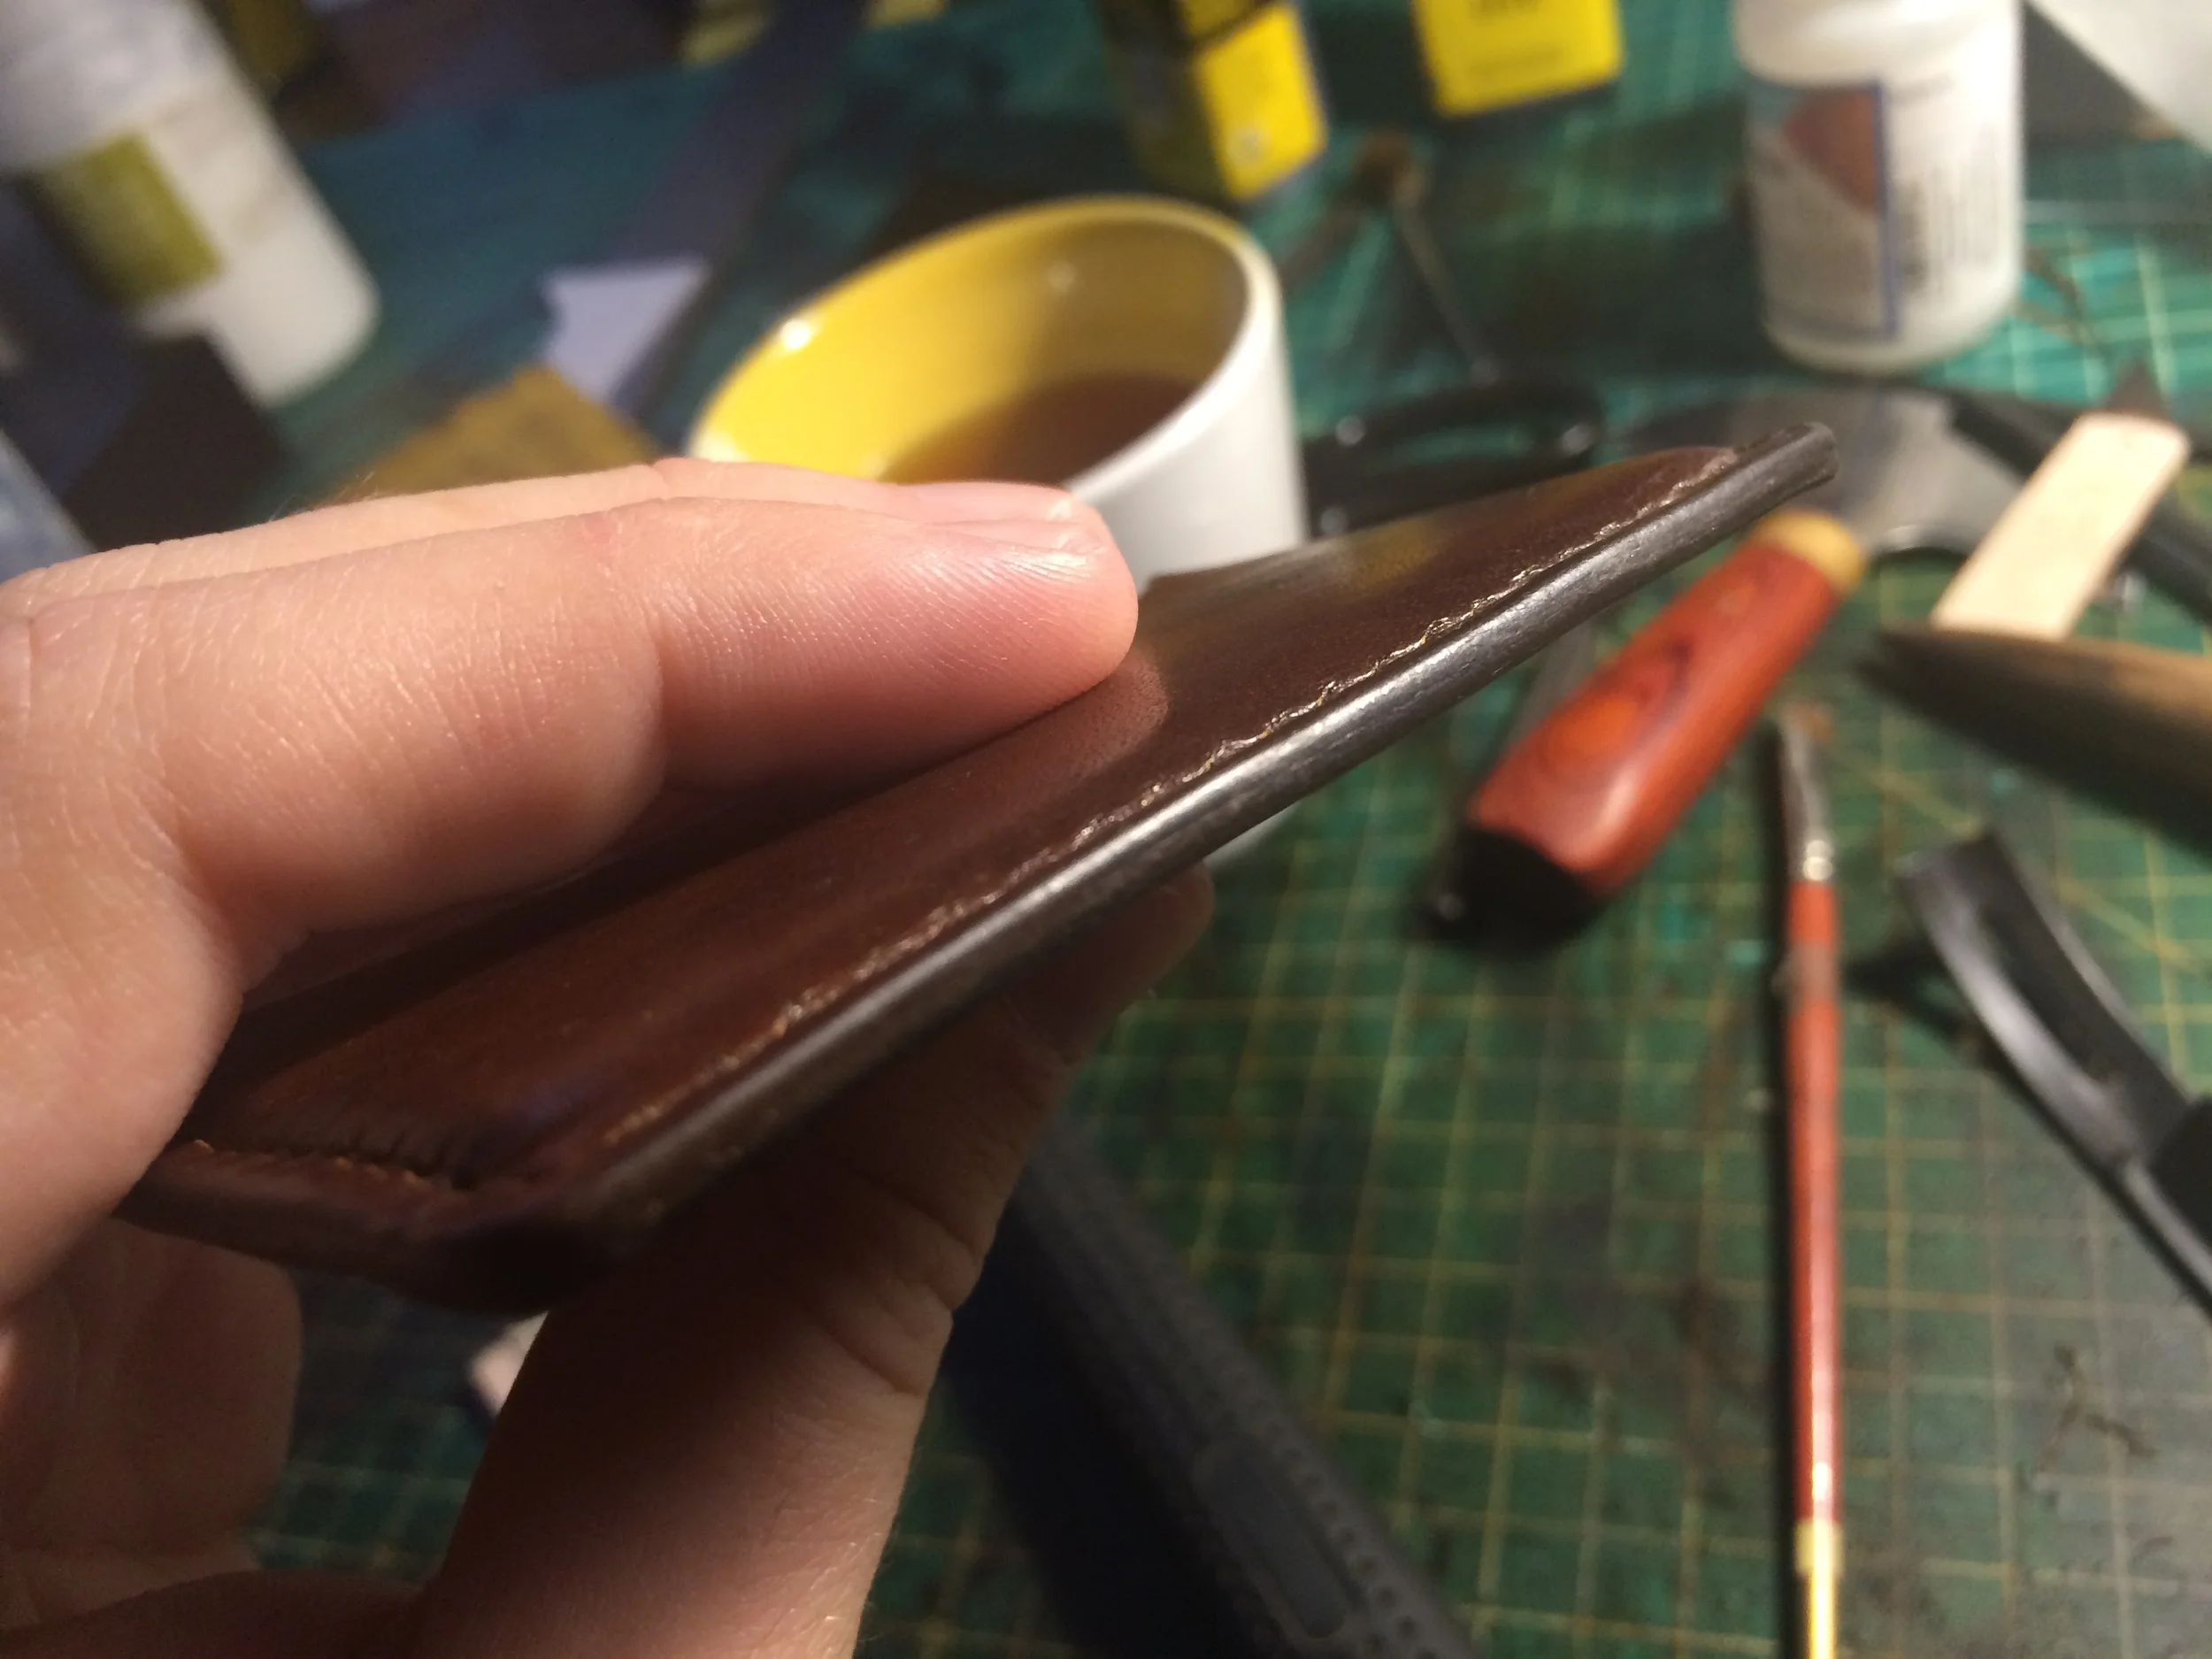
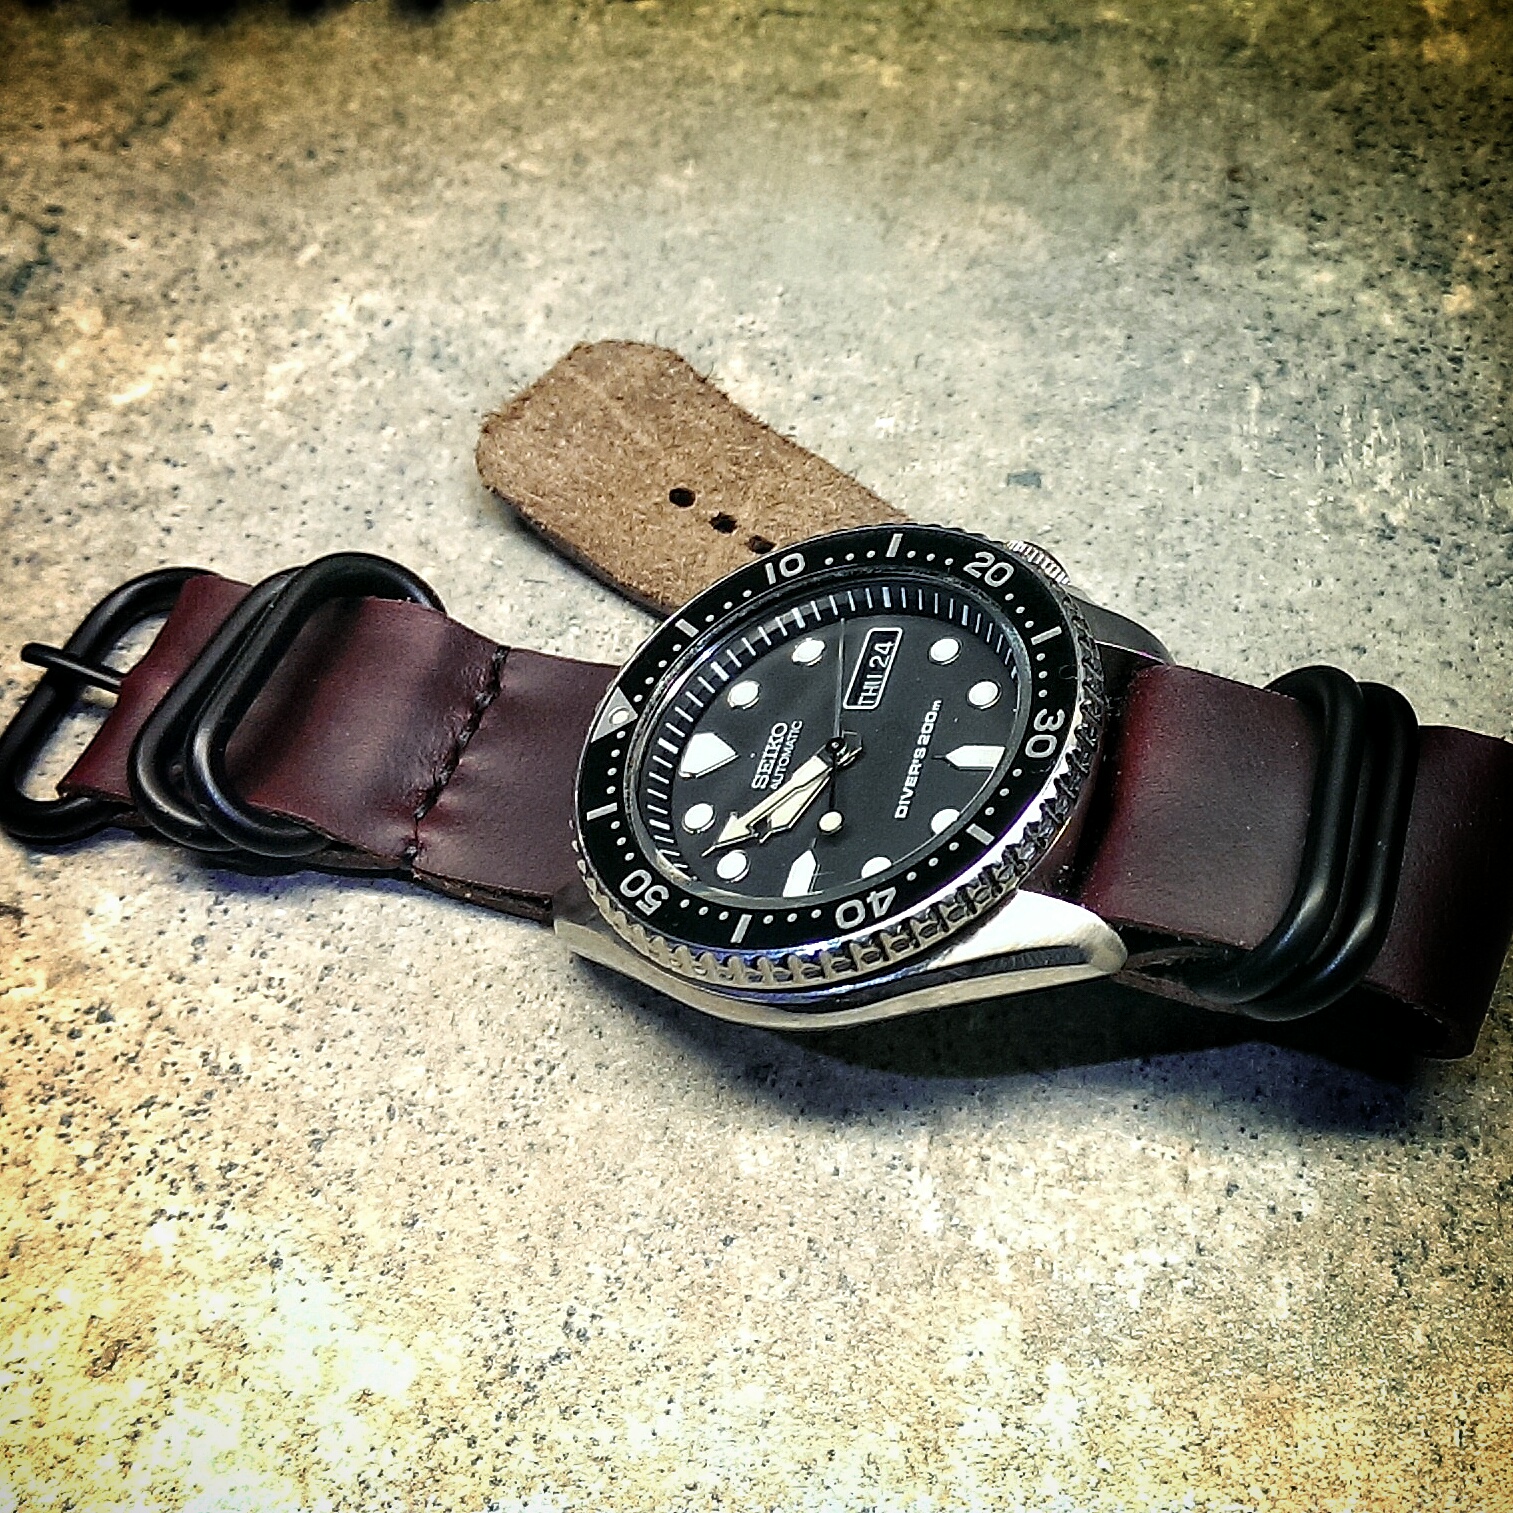
More Recent Work.
I have always been a big believer in the idea that inexperience is a poor excuse for bad quality. I really believe in learning something right the first time, and cutting down that learning curve. My thought process was, if I start with the best materials, then that variable is taken out of the equation and I only need to focus on technique. So I bought some Horween Chromexcel scraps and Ritza tiger thread, both considered premium materials and commonly used for handmade items. At that point I was able to more specifically focus on my shortcomings or the shortcomings of specific tools, rather than worry that maybe the material was the problem (like it was with the chrome-tanned pieces).
I gradually solved one issue at a time – cutting straight lines, marking stitch lines, stitching straight lines, making sure my backside stitching was lining up, getting edges nicely sanded and rounded, trying various burnishing methods and finishers – until finally my end product was really starting to improve. Today I feel confident enough in my technique that I could employ it even on lower quality materials and get satisfactory results.

Here is one of my more recent projects: a combination journal and address book. On this project you can see that my preferred aesthetic is a clean, luxury look. I don’t personally do a lot of tooling, though I am dabbling in dyes next to create some custom colors. My stitching is probably where I feel my technique is strongest, getting consistent slanted saddle-stitch both front and back. My edges are improving but I do feel I have just about hit the wall on natural finished edges; I will likely start playing around with edge paints to really achieve the polished edge look I am going for.
The bottom line is this: good things take time and practice. But practice alone does not make perfect - it makes permanent. To really improve you have to look at the flaws in each project and think about how to improve upon it for next time. By taking this critical thinking approach, you can ensure that your money is spent on the right tools, and your time is spent working on the right techniques to keep your projects moving forward and your sense of accomplishment high. Also, don’t be afraid to work outside your comfort zone, you may be surprised what type of projects you are able to create if you take your time and plan, and give it a solid shot.
“I have always been a big believer in the idea that inexperience is a poor excuse for bad quality.”
It's Justin again. I want to bring attention to this quote from Neil that I really sums up why this article is so great. In it, he highlights two of the most important things to learning leather working quickly and learning it well: challenge and review. A lot of big projects seem scary, but the best way to learn is by just trying to make them. If you have something you've been dreaming of making, go make it. But don't go into it haphazardly. Like Neil suggests, really put thought into how you make it and do your research. Don't dream big only with the overall project, but dream big with the excellence of your details. If you do this, you too can have achieve this kind of quality of work.
If you haven't already, you absolutely need to check out more of Neil's great work at his website: http://www.whiskeystraps.com
Thanks for reading guys, and if you would like to write a guest post, or have your work featured don't be afraid to ask. Just contact me.